Photo checkpoints & route planning
Feb 01, 2026
Use reference objects to create photo checkpoints
MAVO 3D has a neat optimization technology that helps align point clouds correctly after scanning. To get the best results with this "Loop Closure" technology, here some tips for 3D scanning with MAVO 3D.
It requires a bit of practice, but you’ll get the hang of it soon.
Pre-requisite
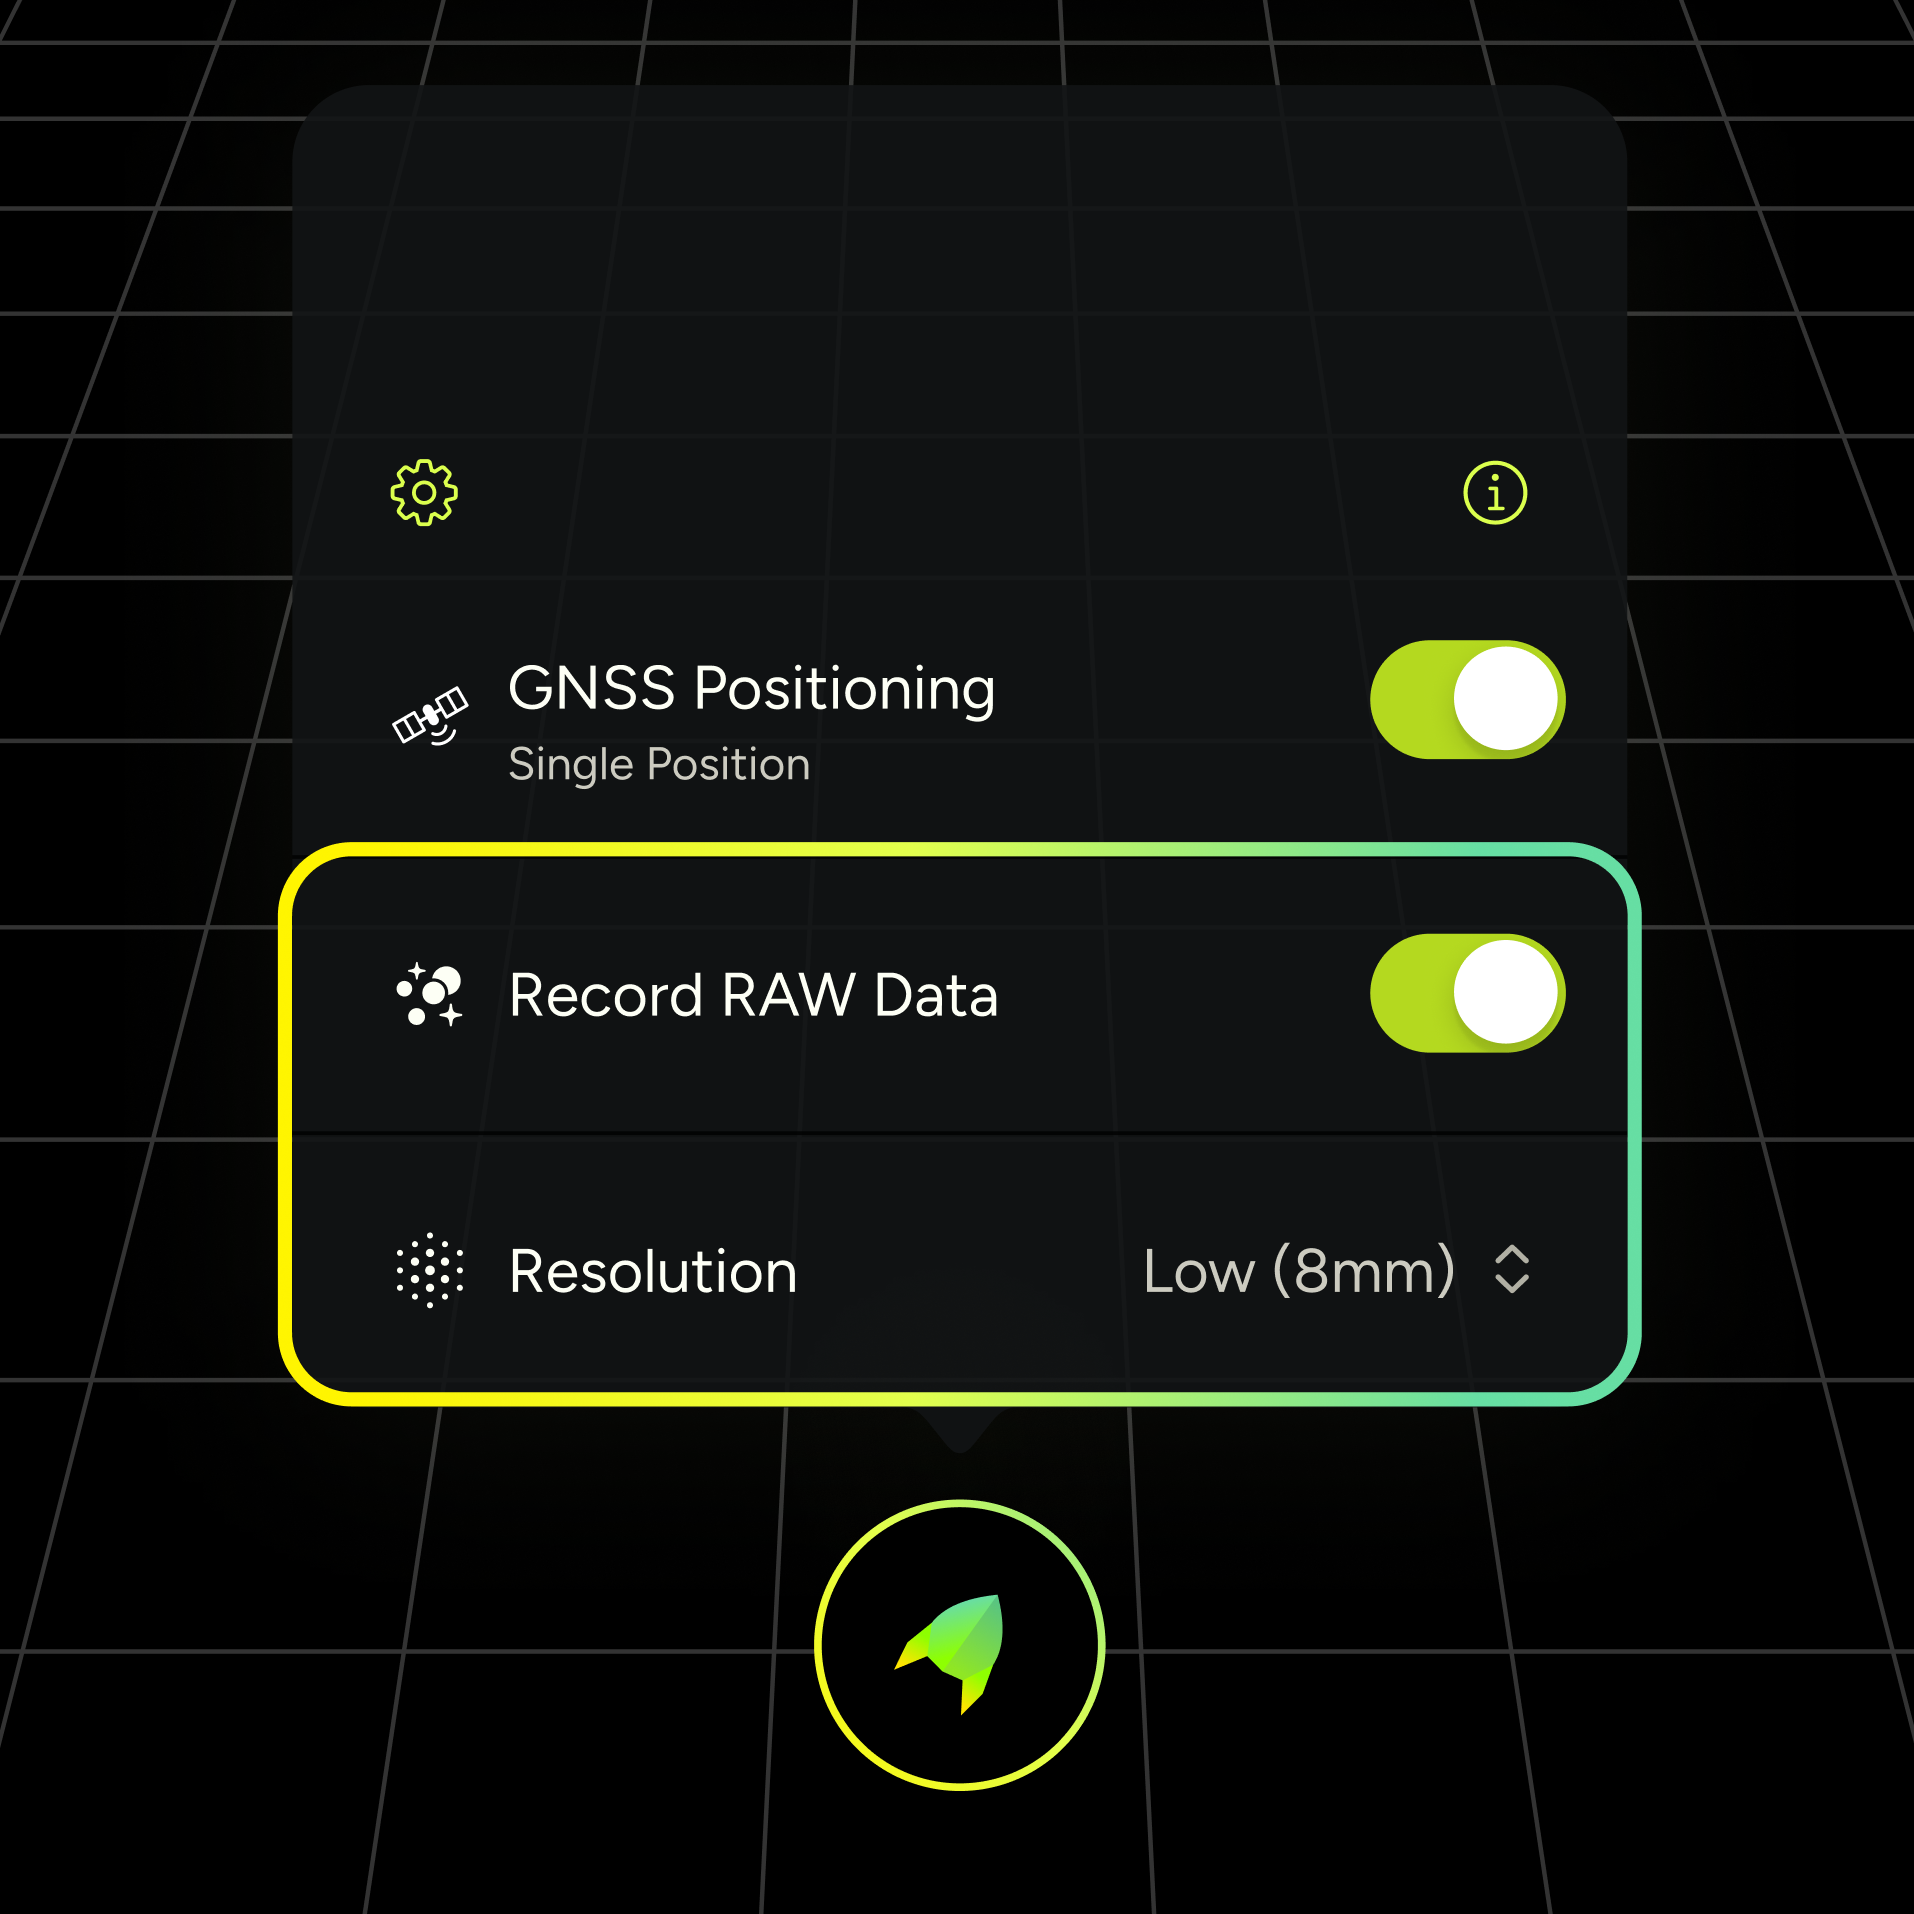
To access all optimization methods after scanning, enable RAW data capture at the start of the scan. With RAW data on, MAVO 3D can keep track your device’s movements and captured visual details to match relevant points after scanning. “Loop Closure” technology.
For best performance, combine it with a low scan resolution, check out our 3D scanning recommendations “3D scanning recommendations.
Choosing suitable reference objects
Pick something with distinctive features and colors. For example: a blue couch works well; a plain white wall doesn’t. In construction sites or empty rooms corners work well too.
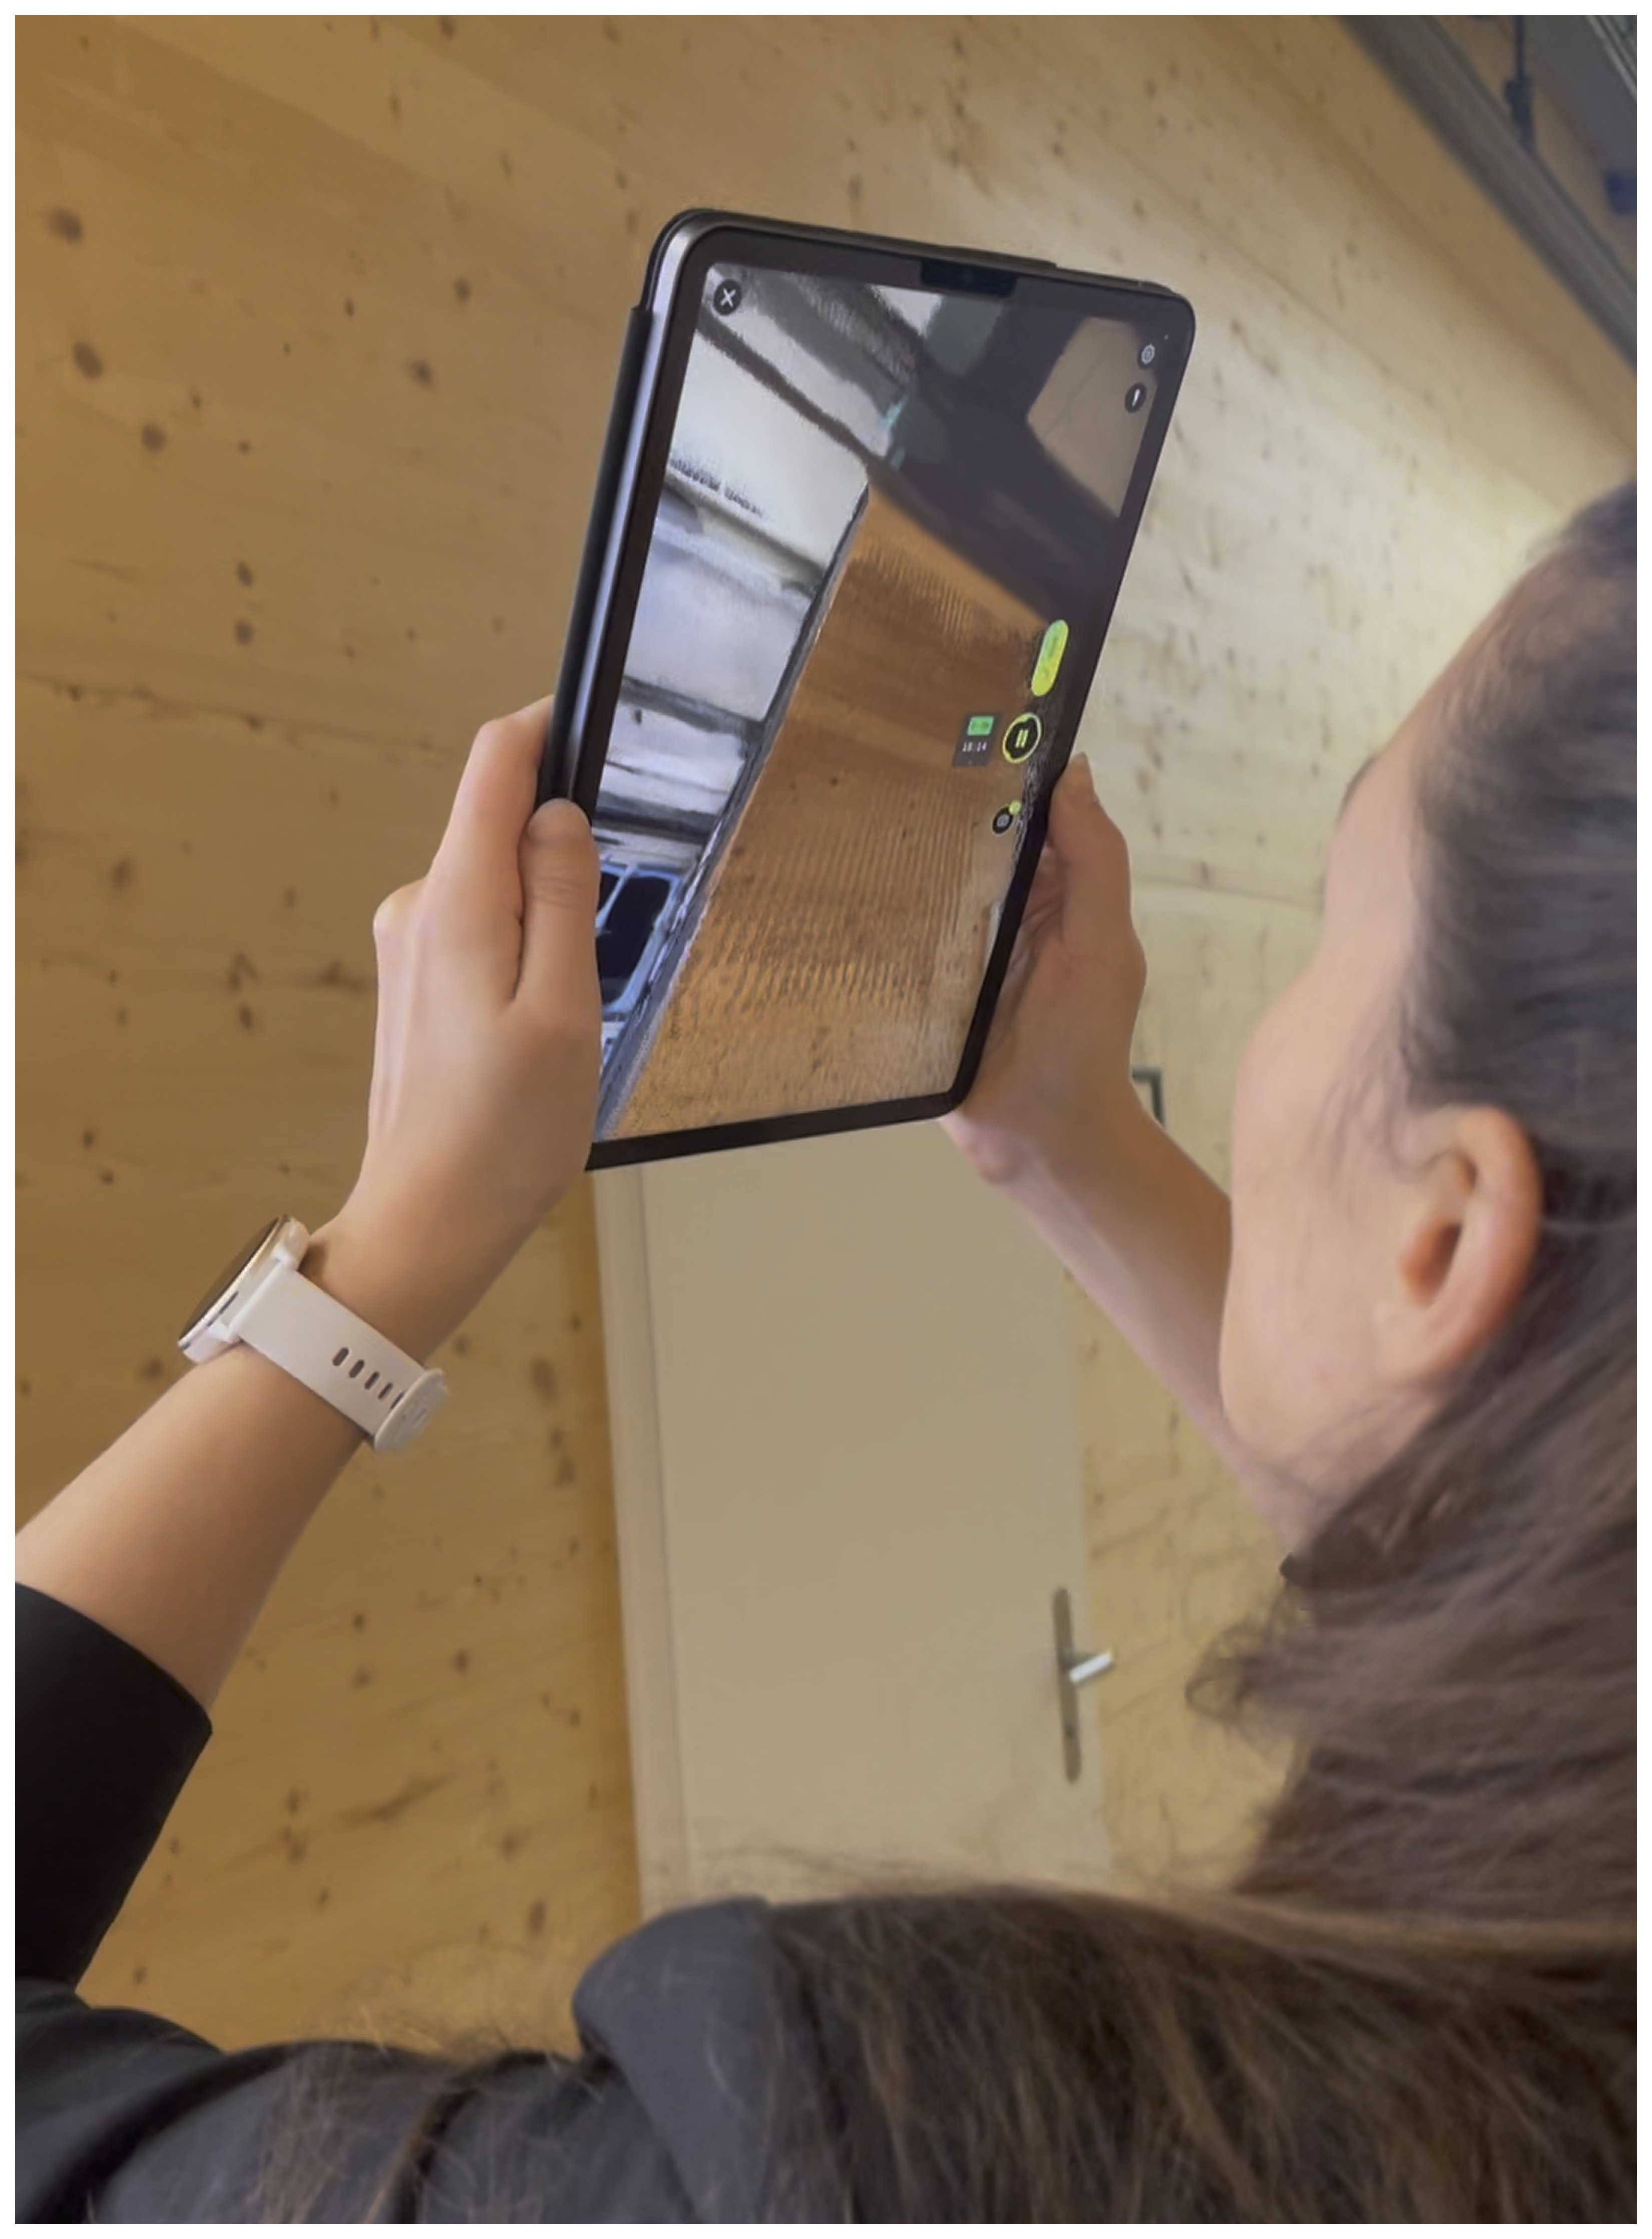
Let’s do some scanning:
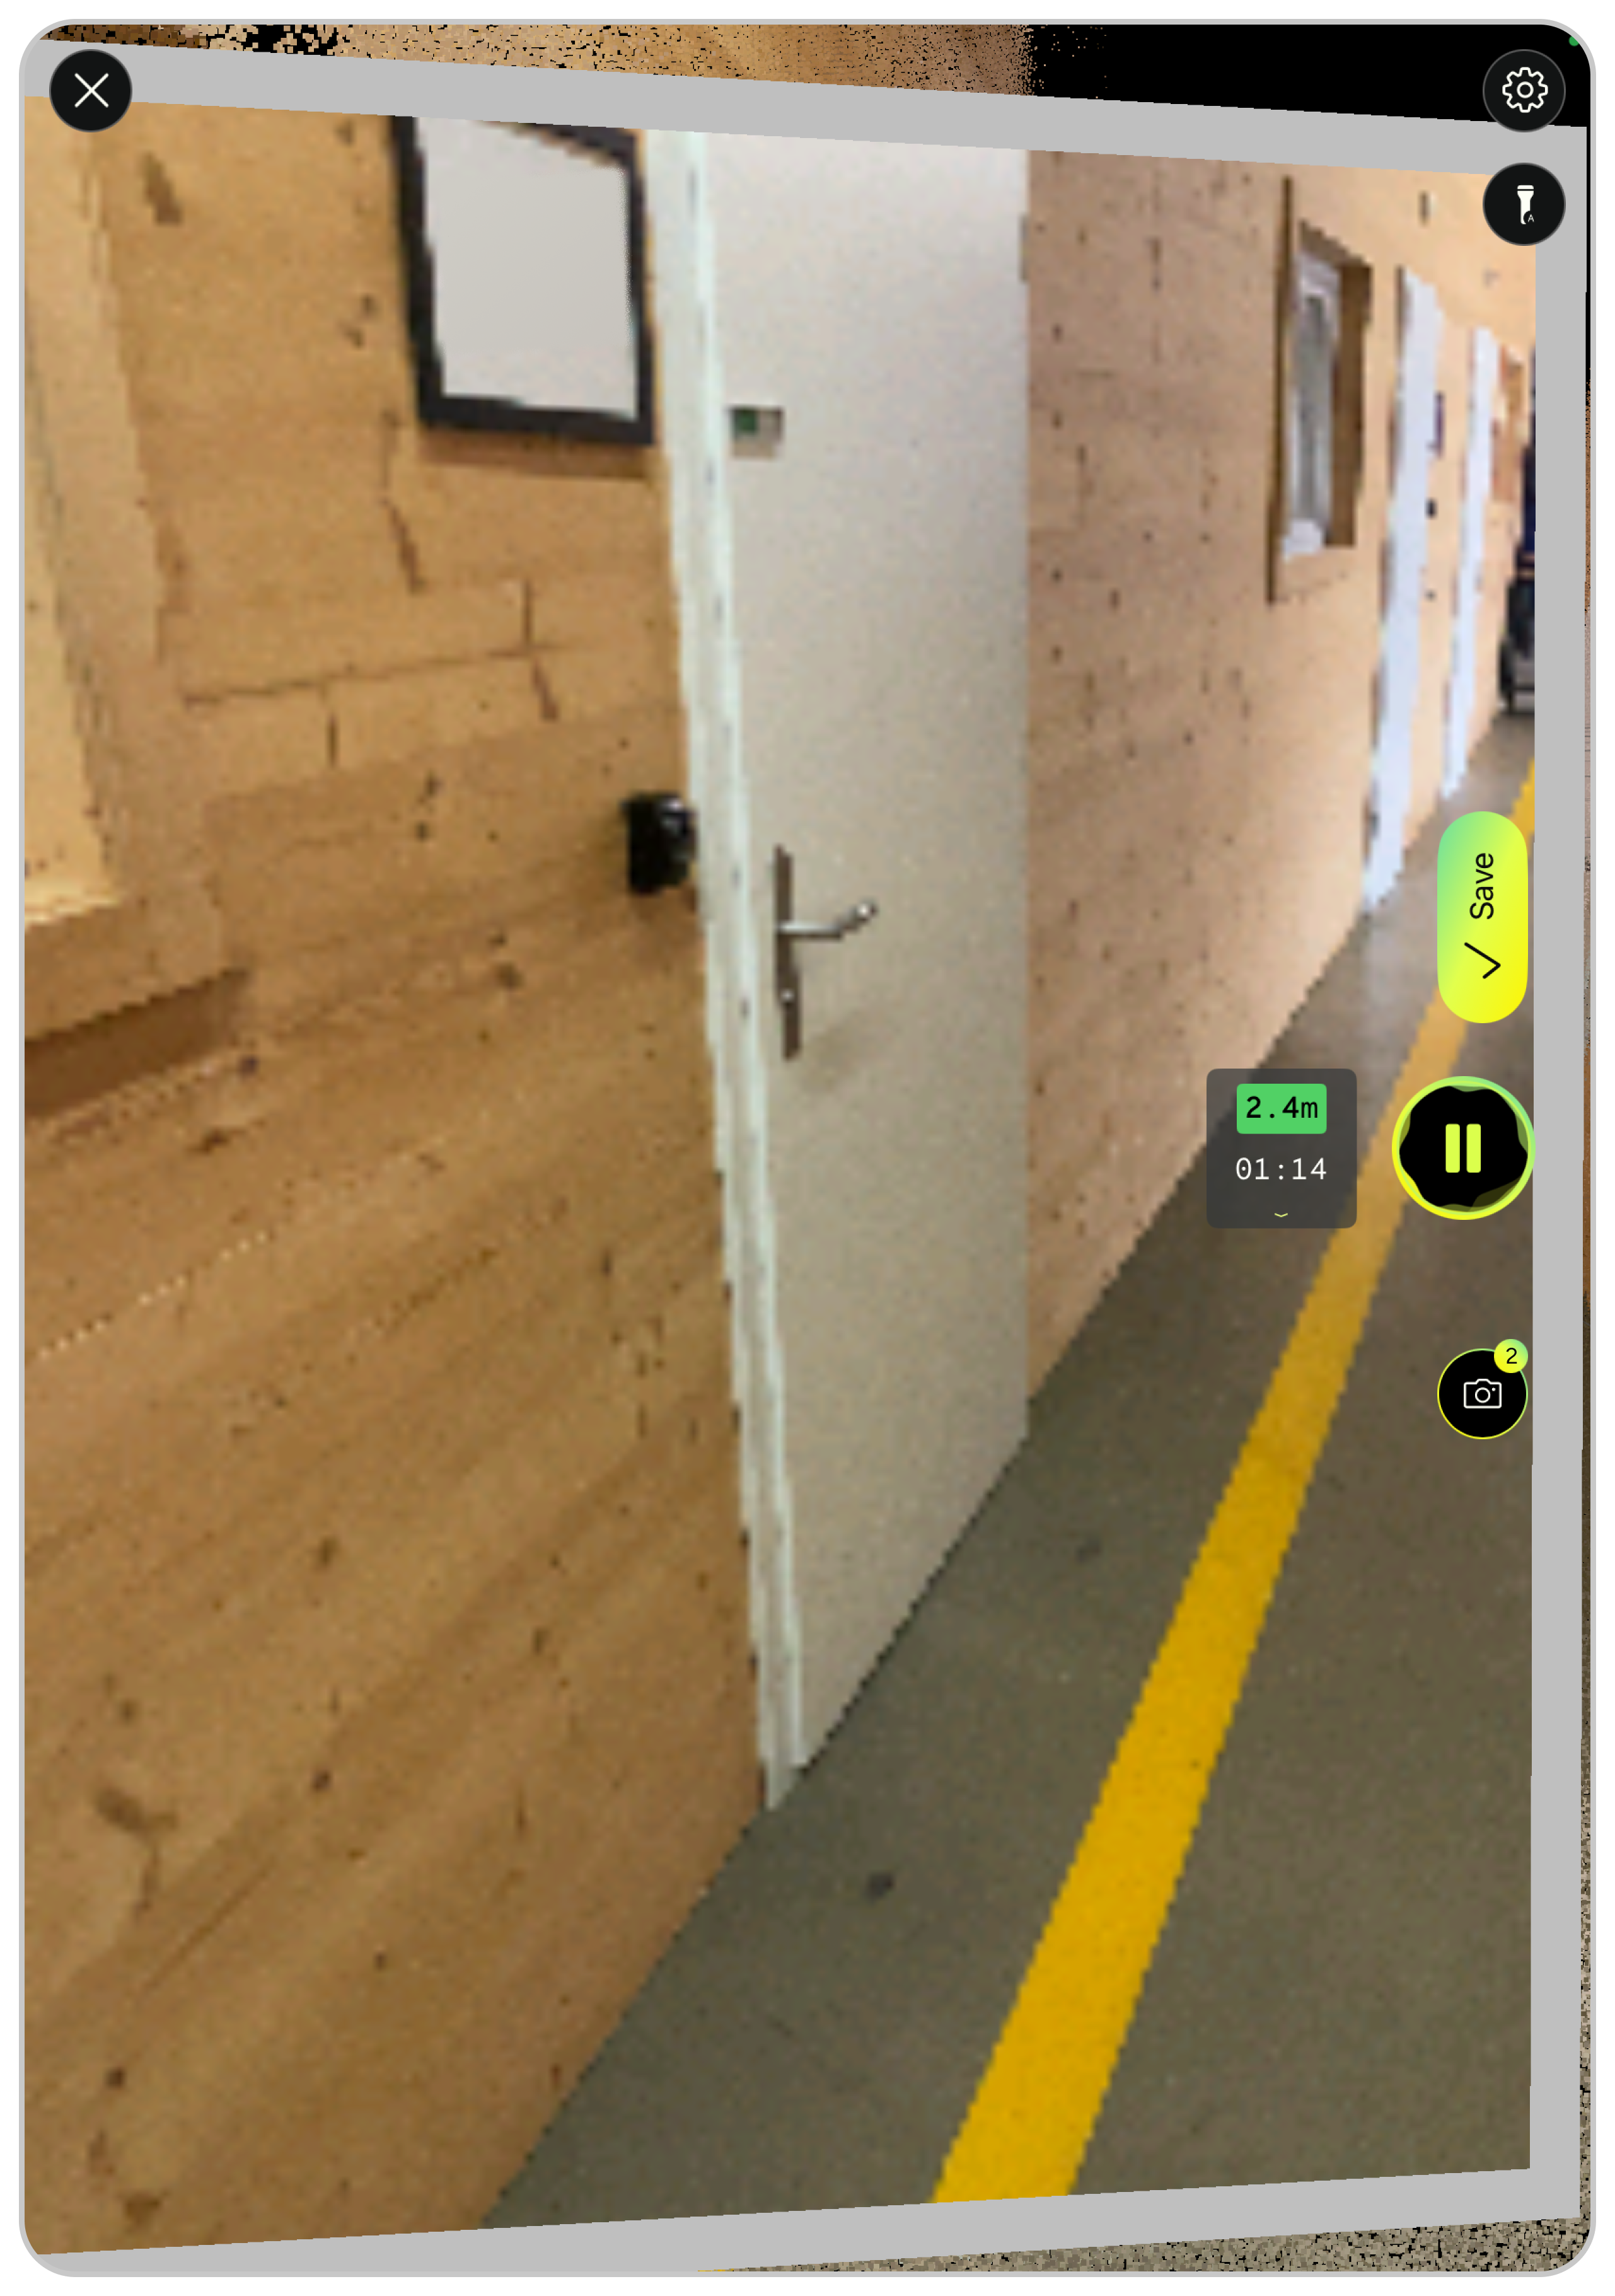
- Enable RAW capturing at start of scan
- Snap a photo of your first reference object
- Continue scanning (check out 3D scanning best practices)
- Whenever you pass a reference object, capture it again from the same position
- Complete your scanning route and return to your starting reference object
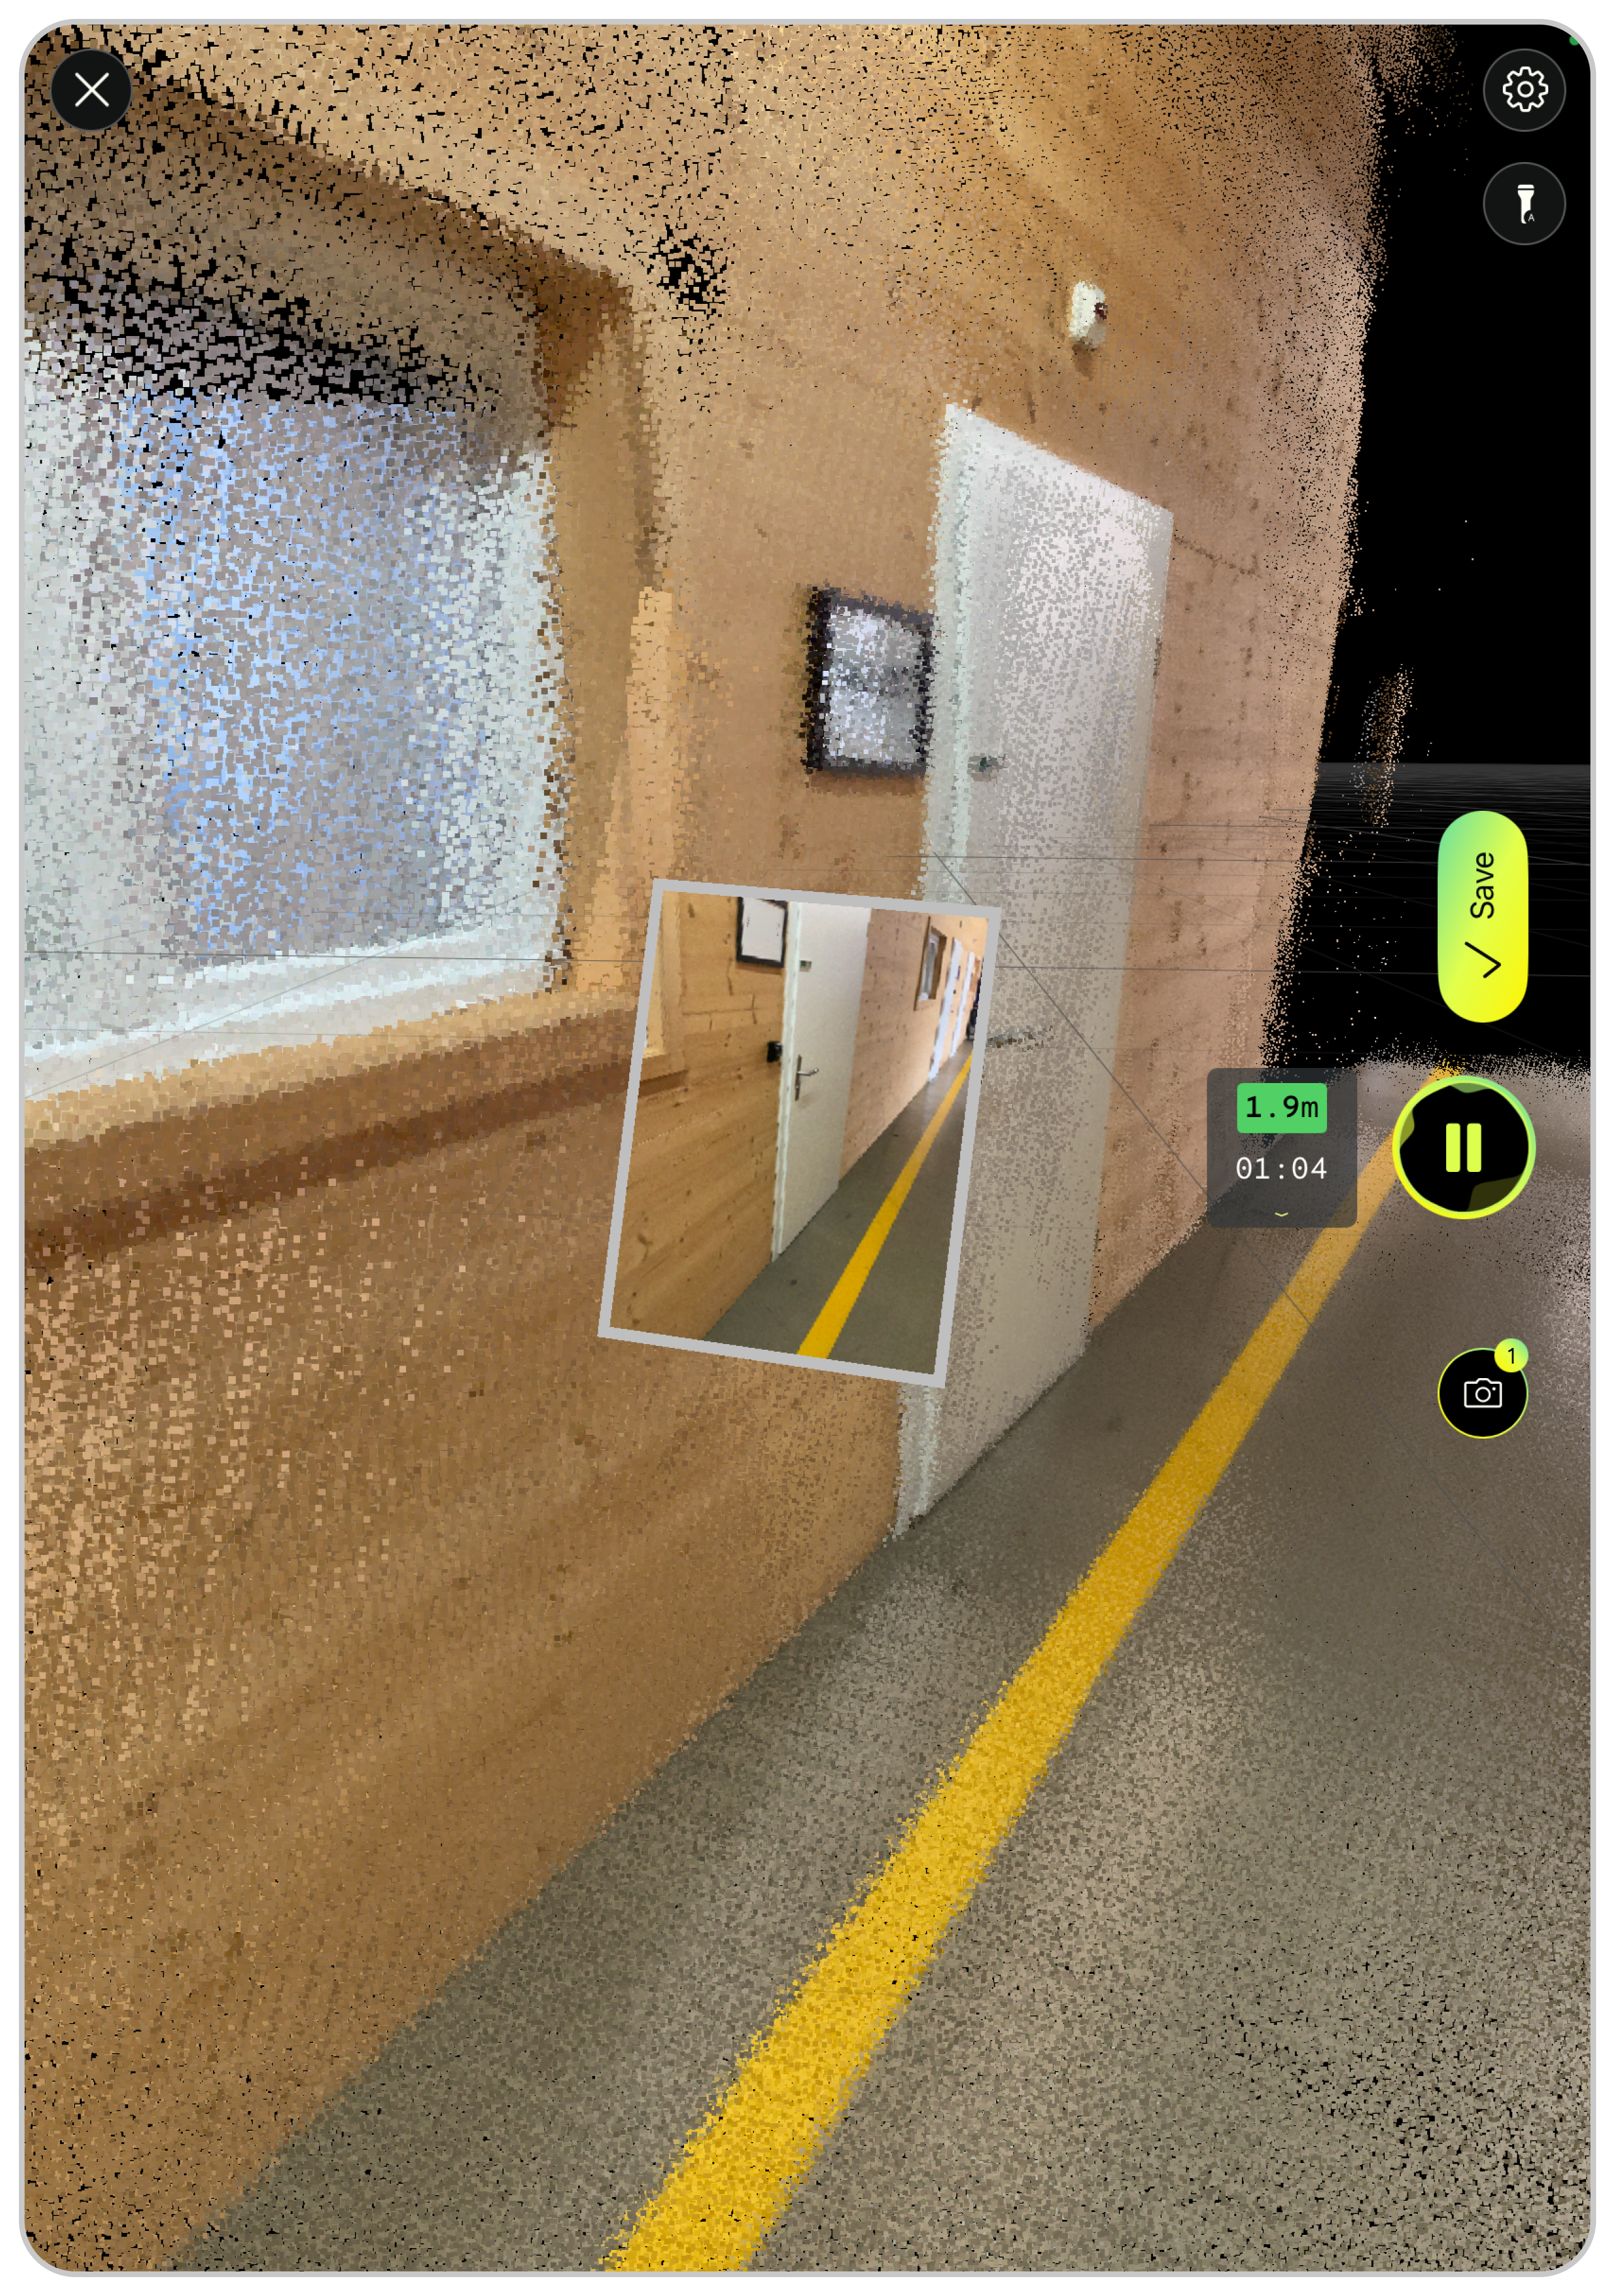
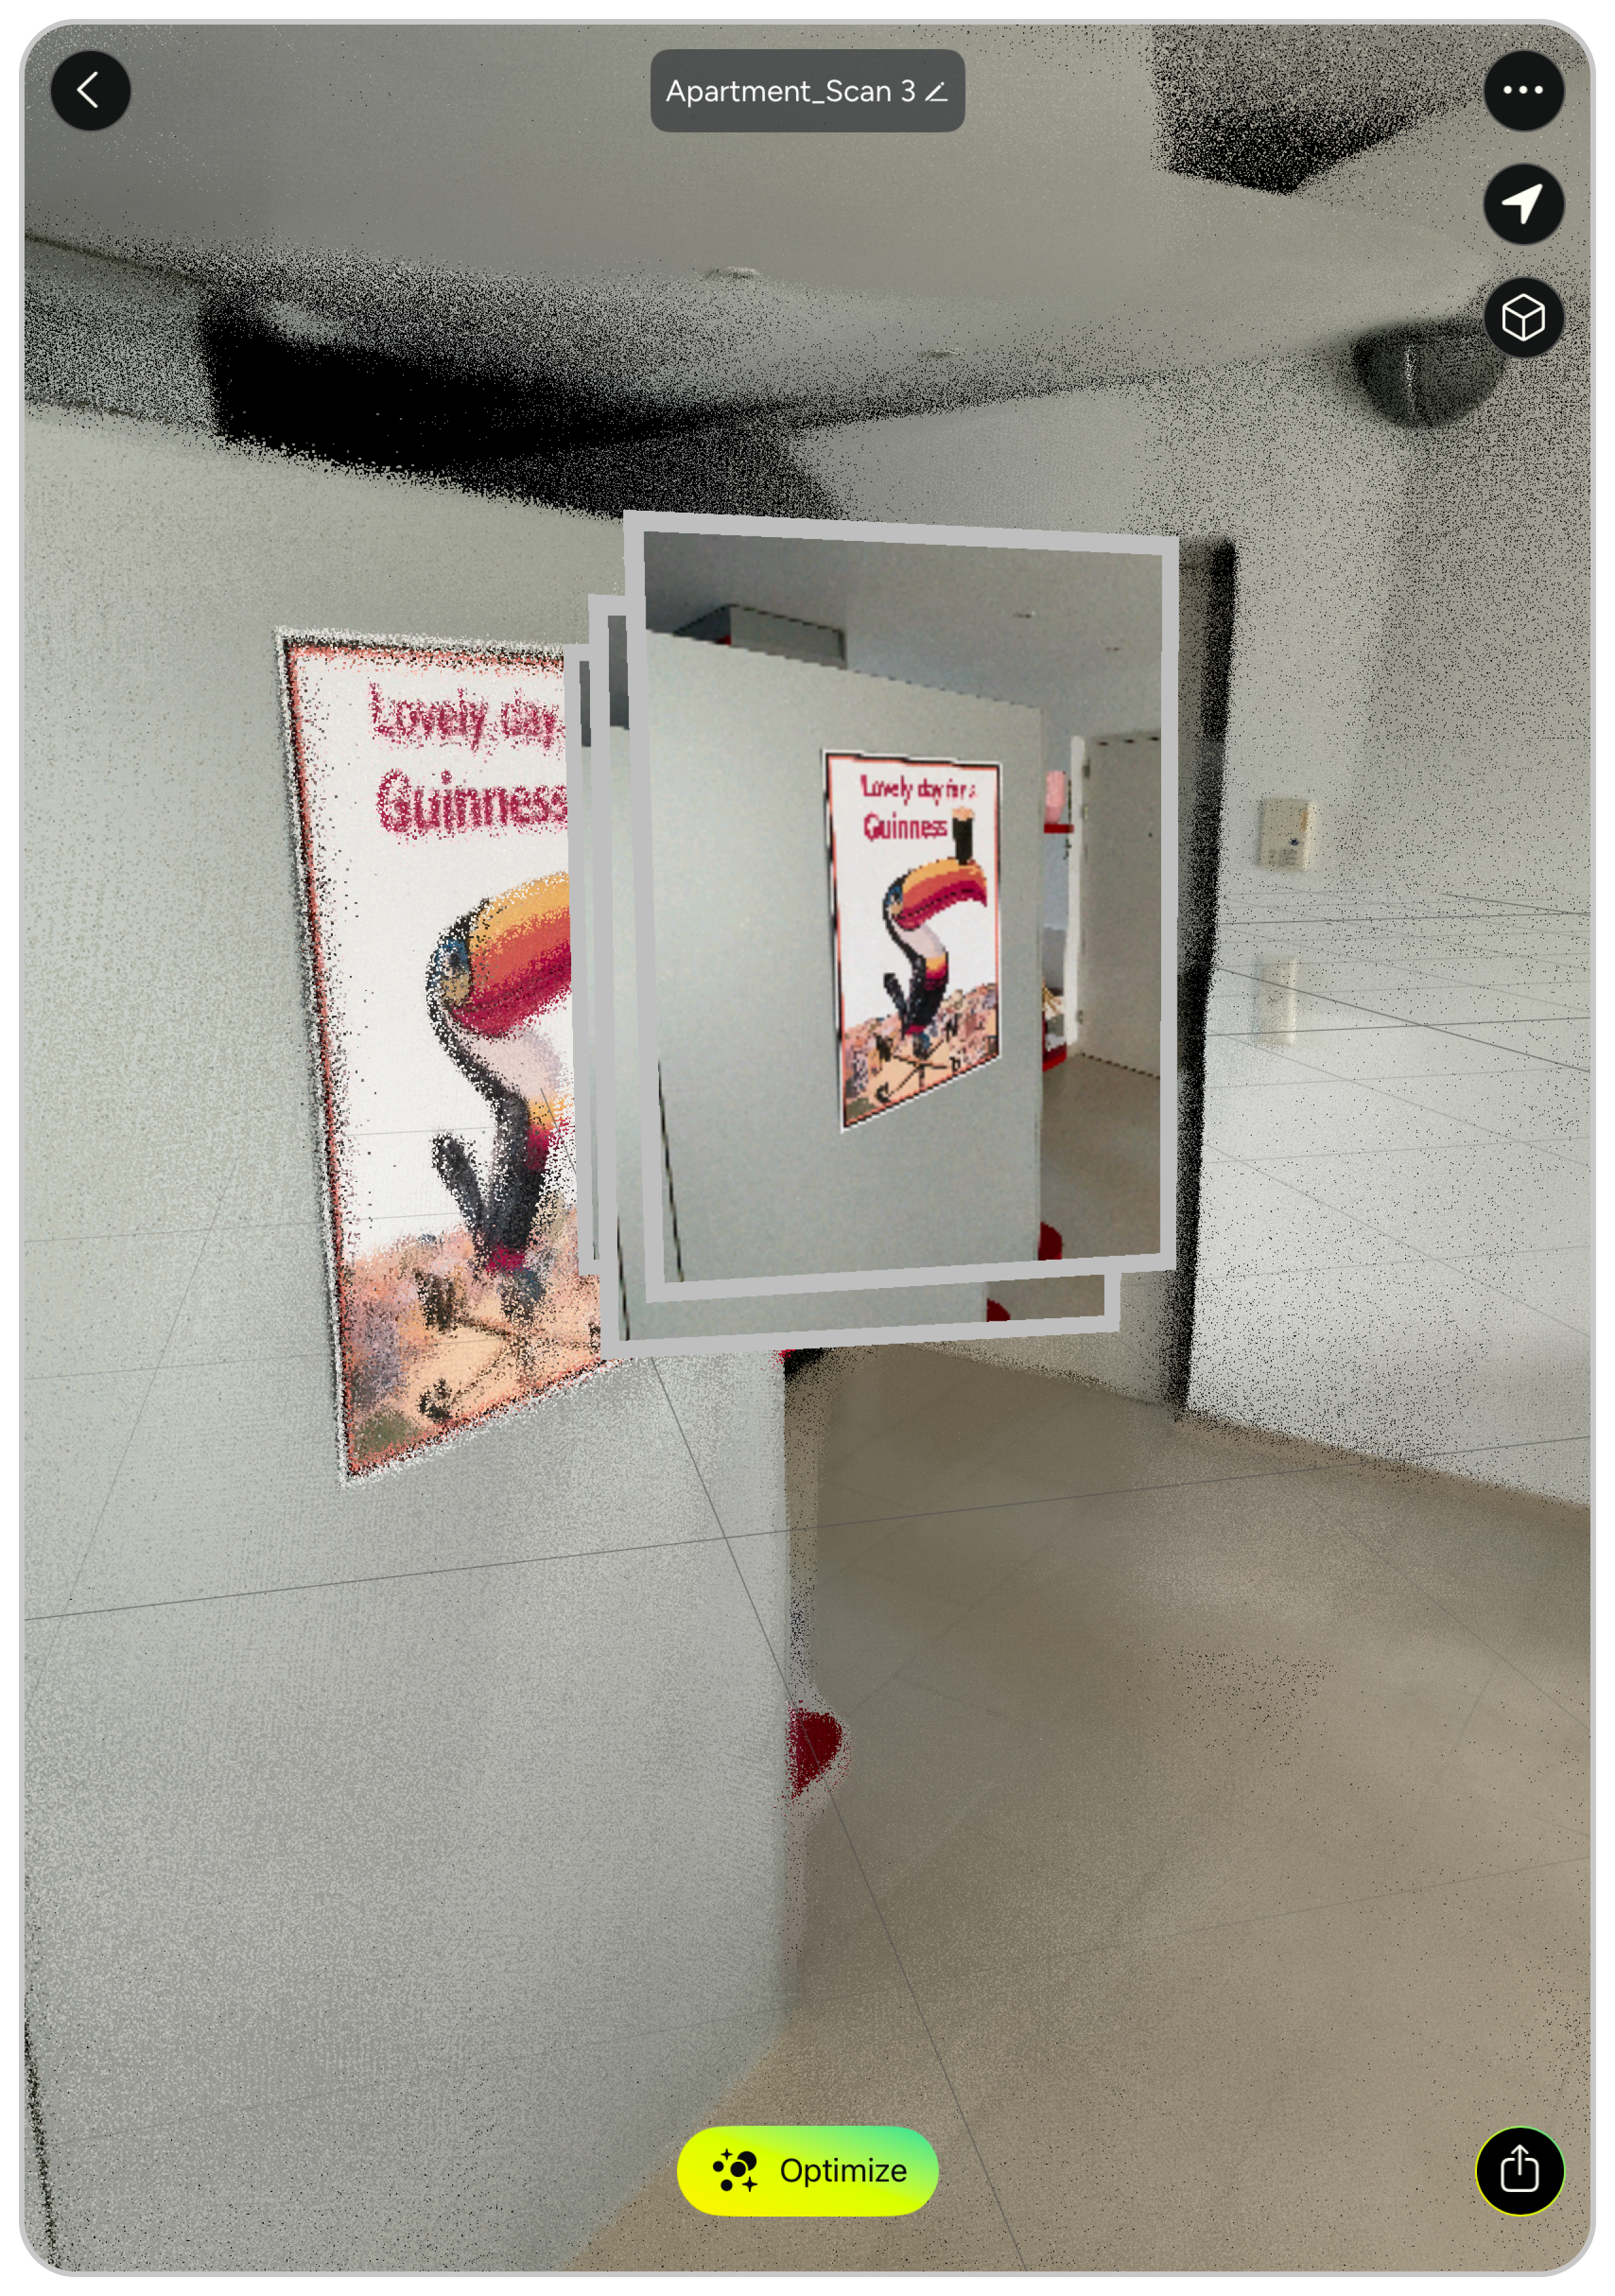
- Take a final photo of it (tip: position your iPhone Pro or iPad Pro as close to the floating image as possible)
This creates a closed loop that helps the app correct small errors that accumulate during scanning.

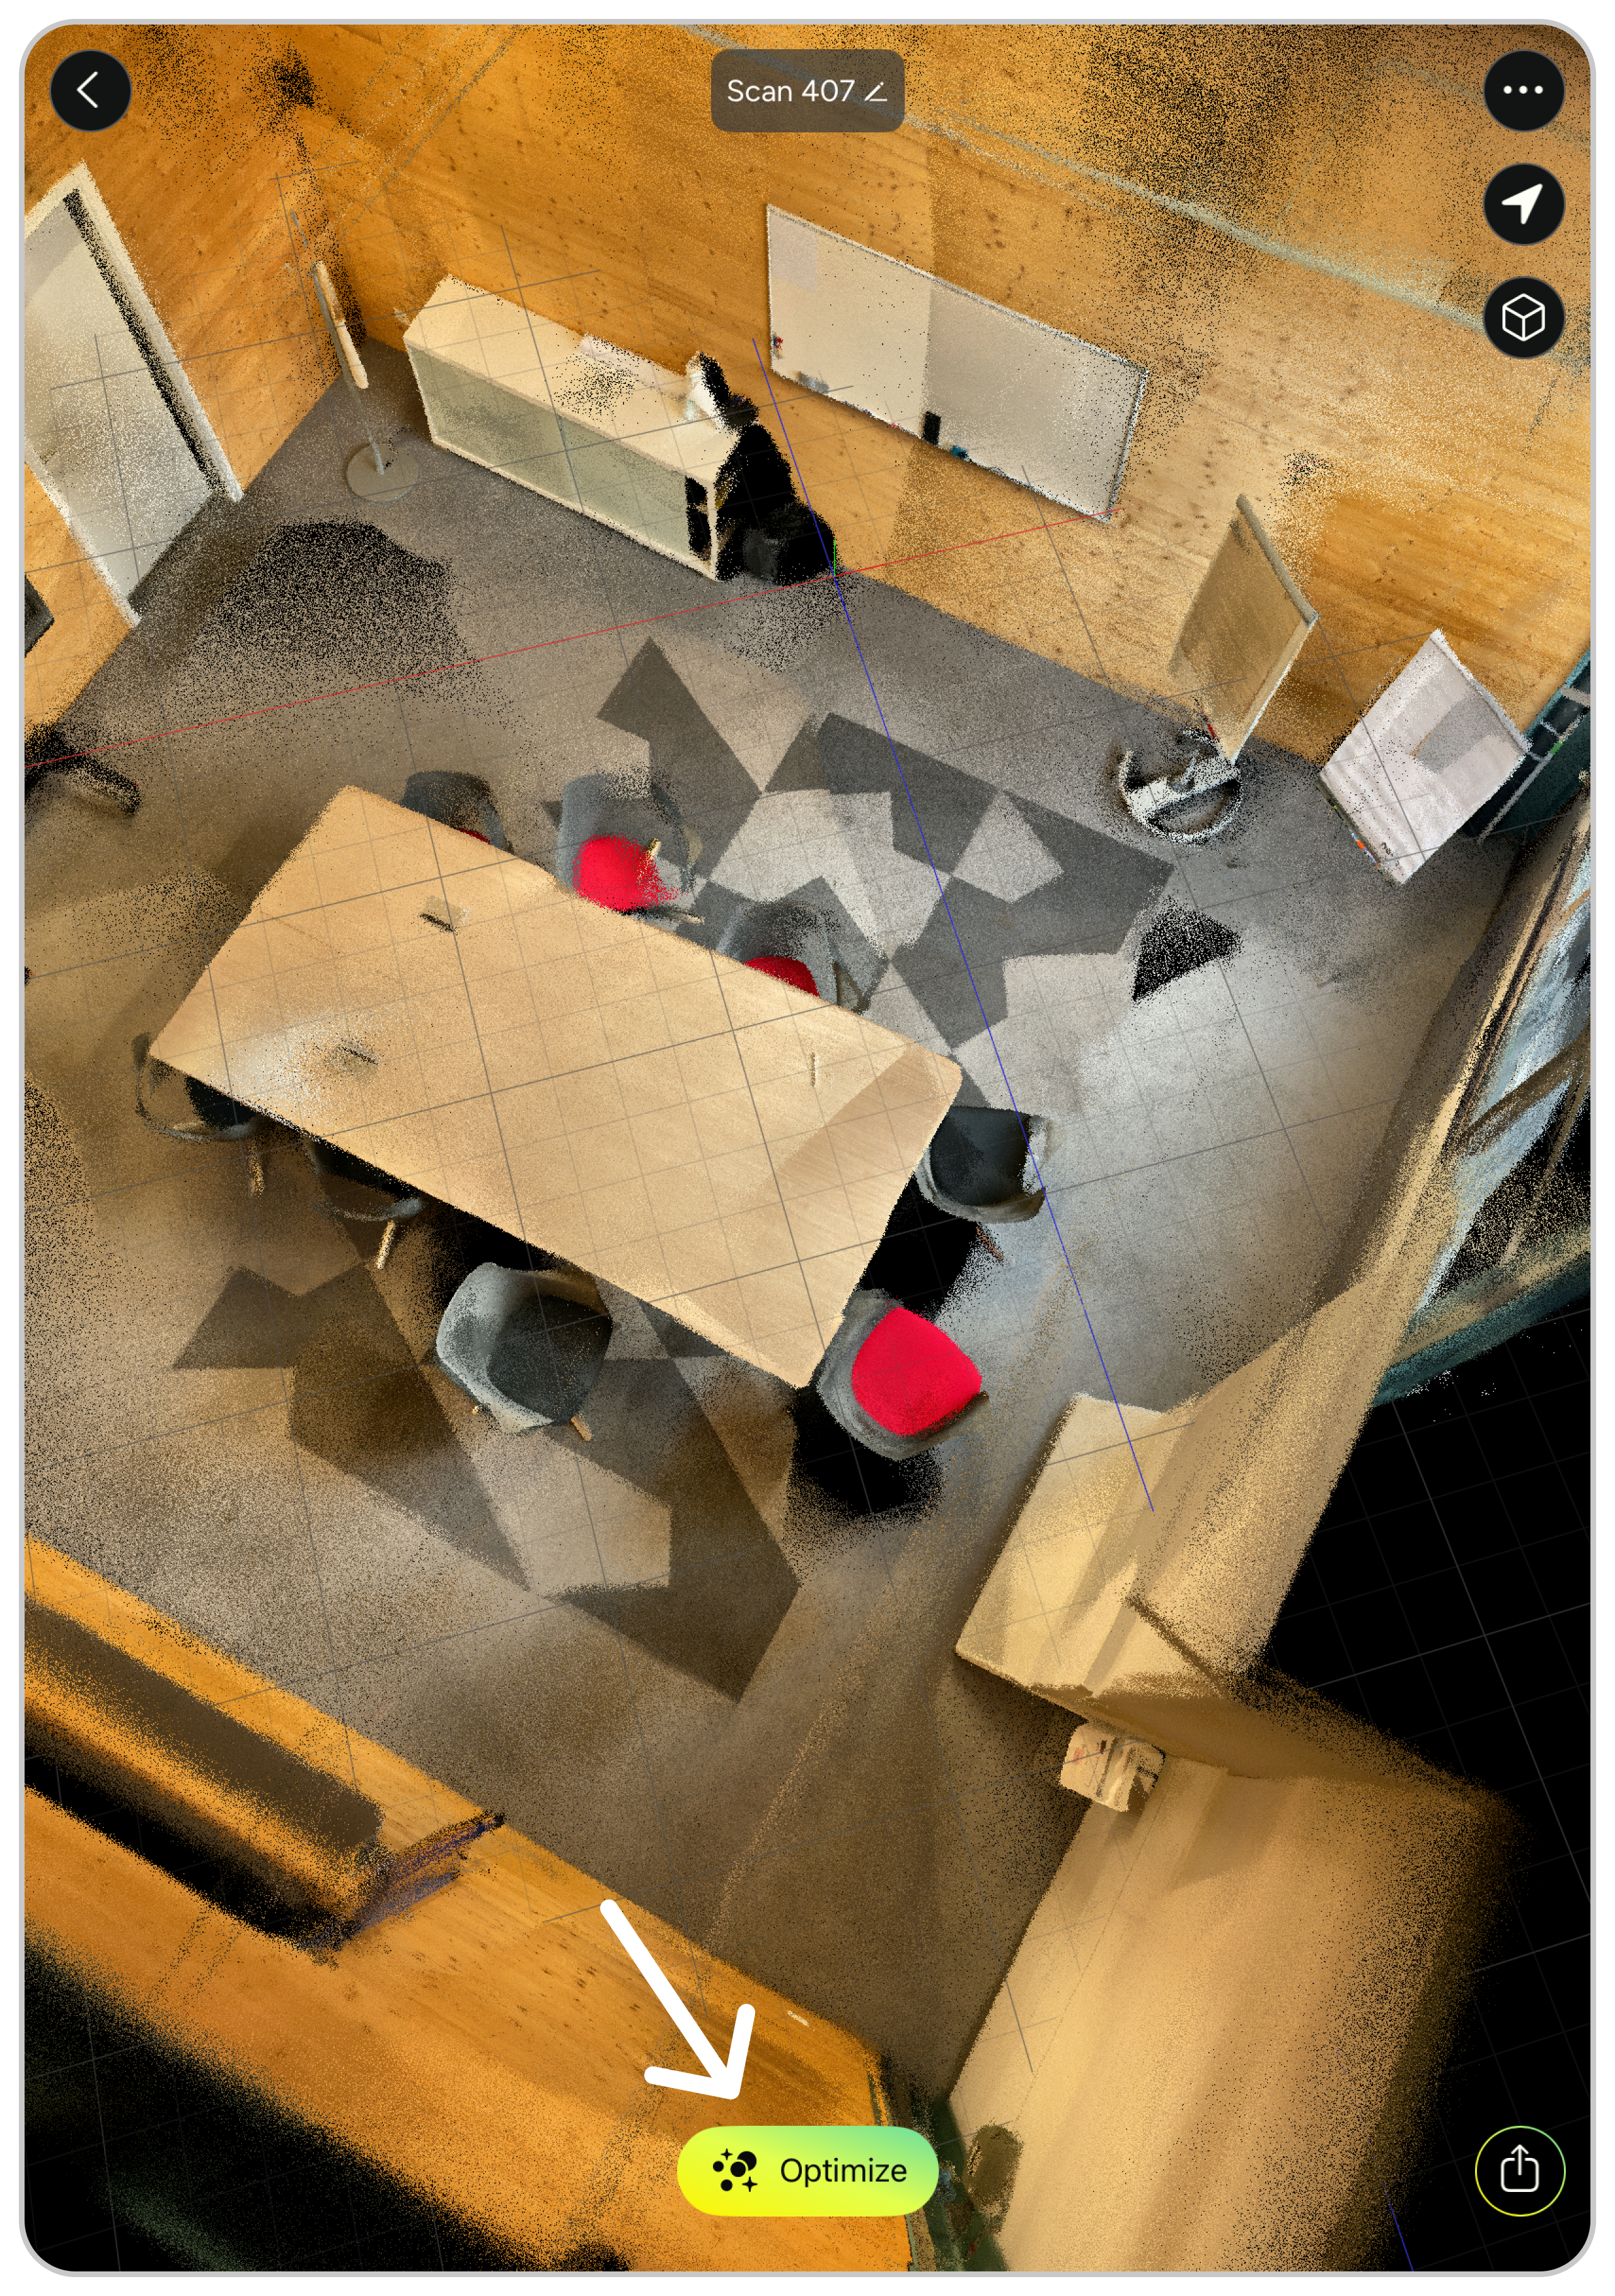
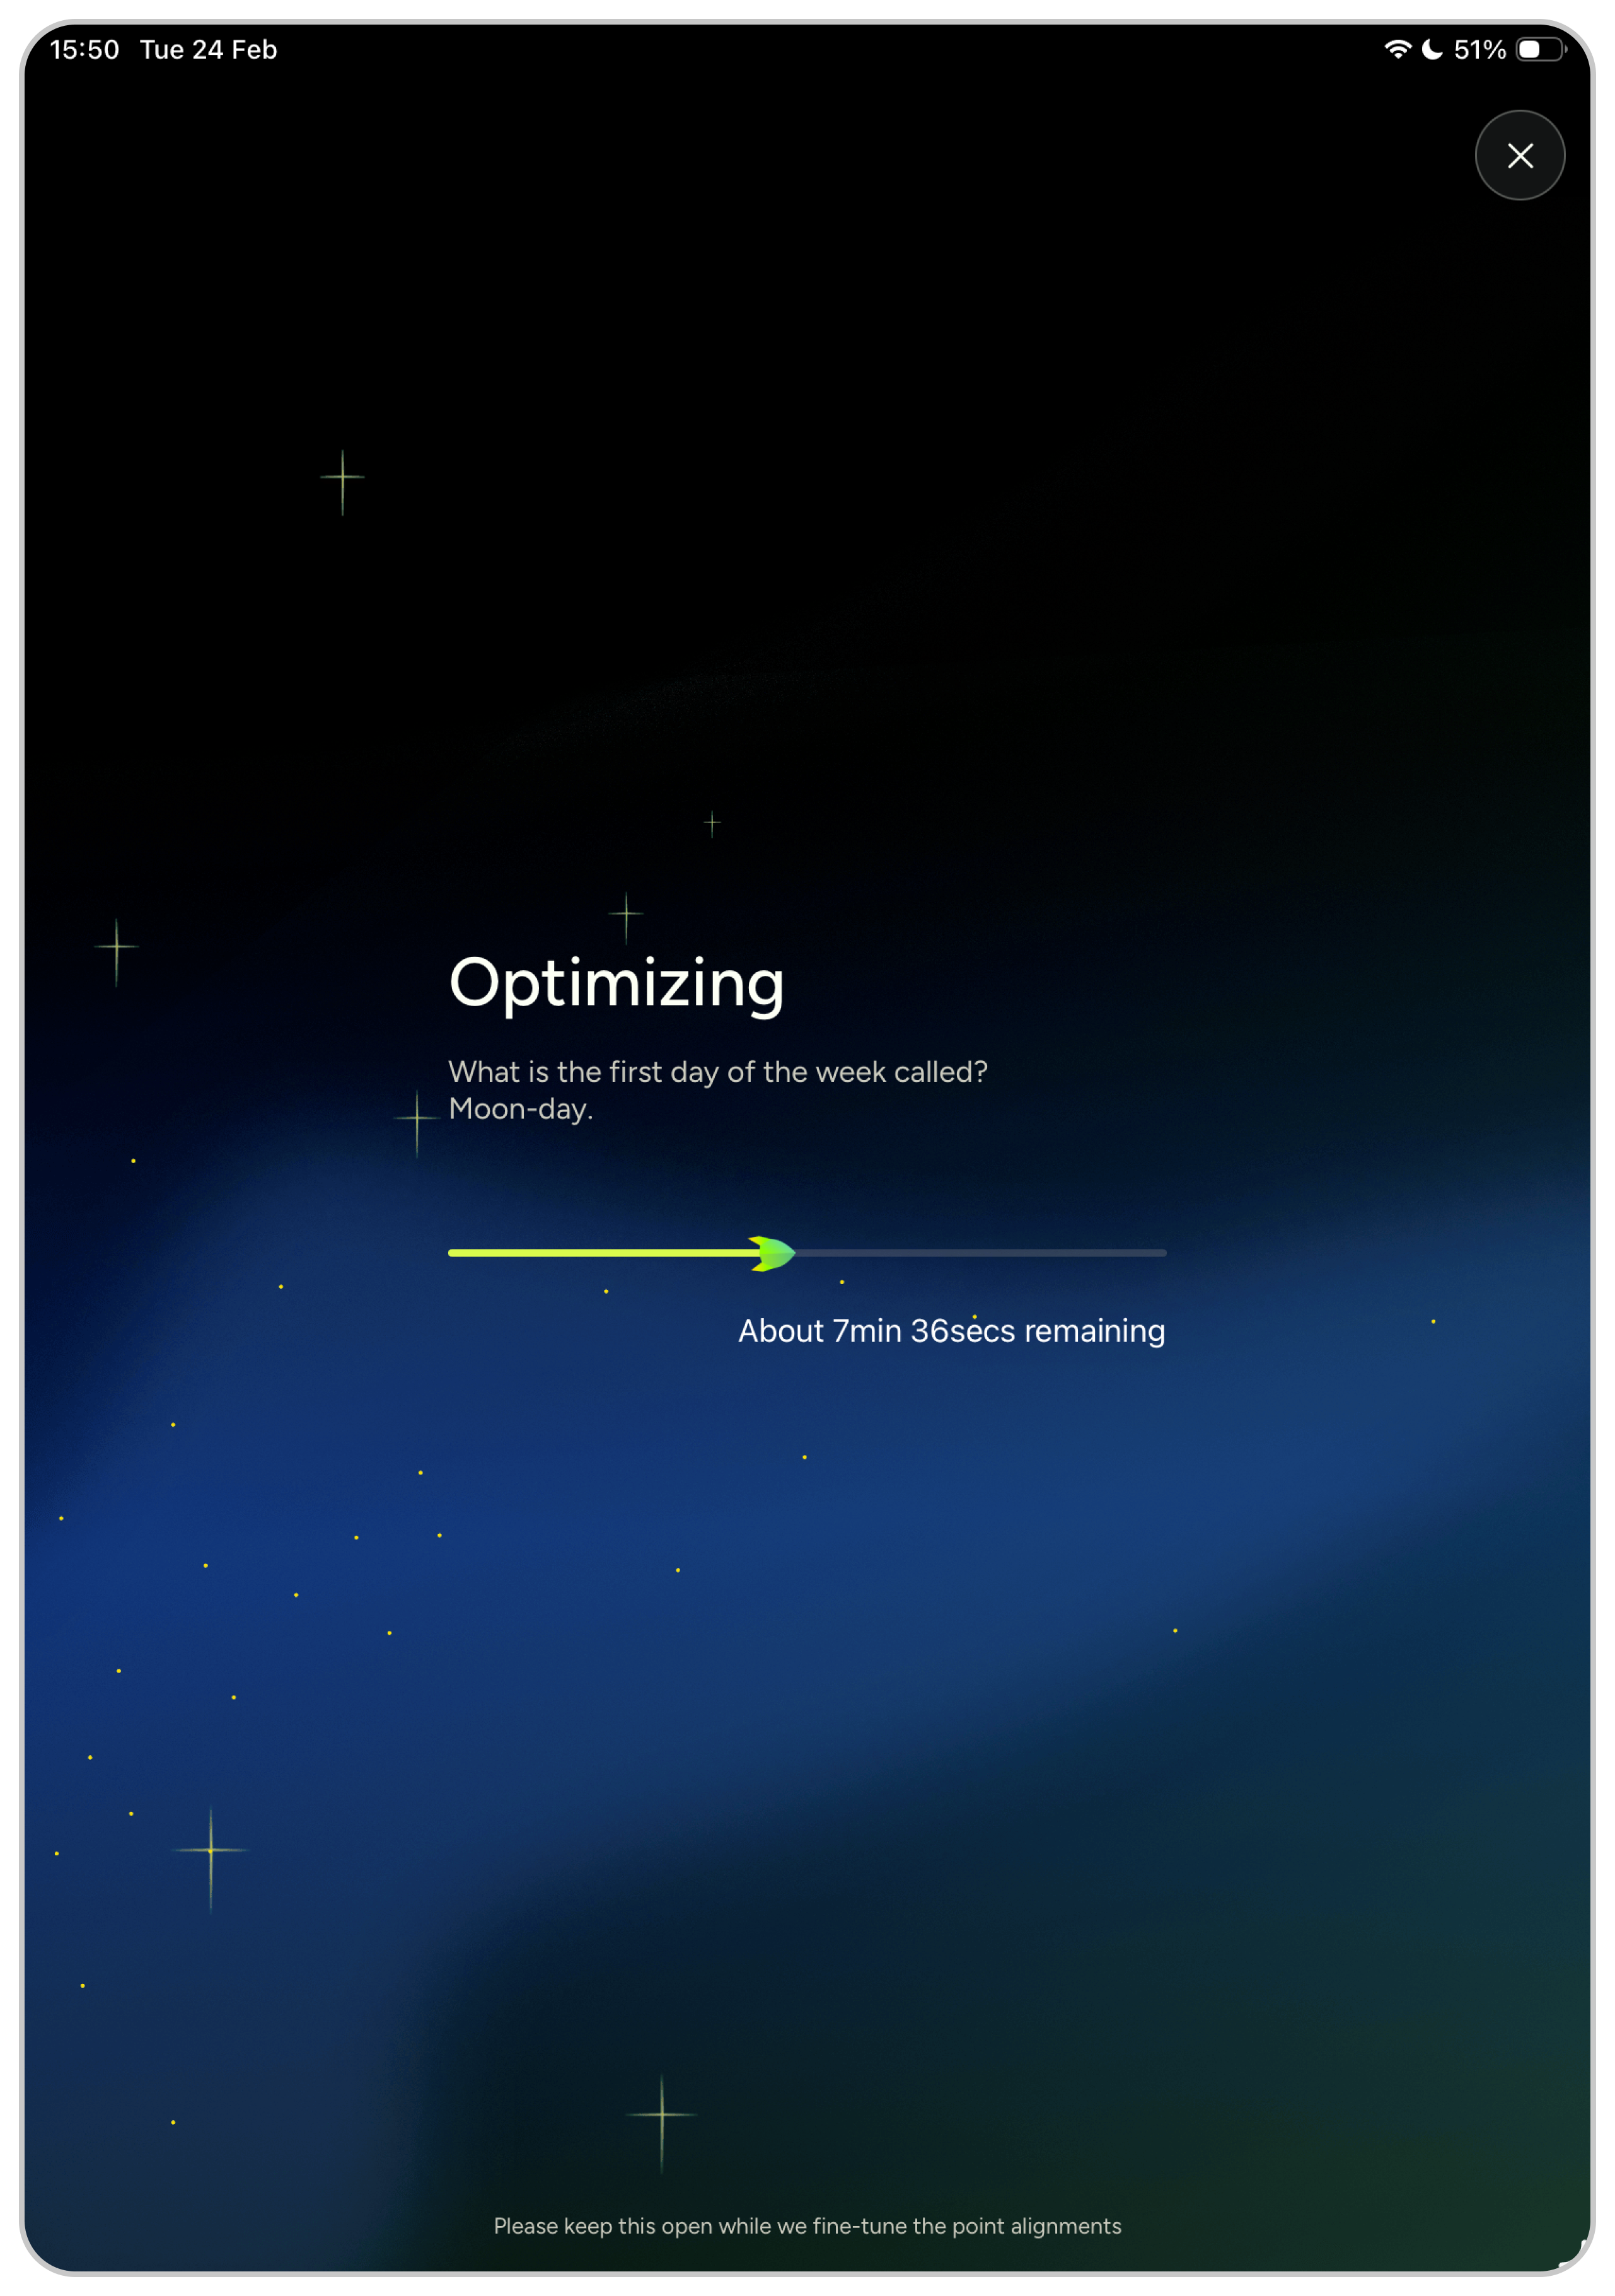
Perform a post scanning optimization
After saving your scan, let MAVO 3D perform an optimization process to improve point cloud quality and remove noise.
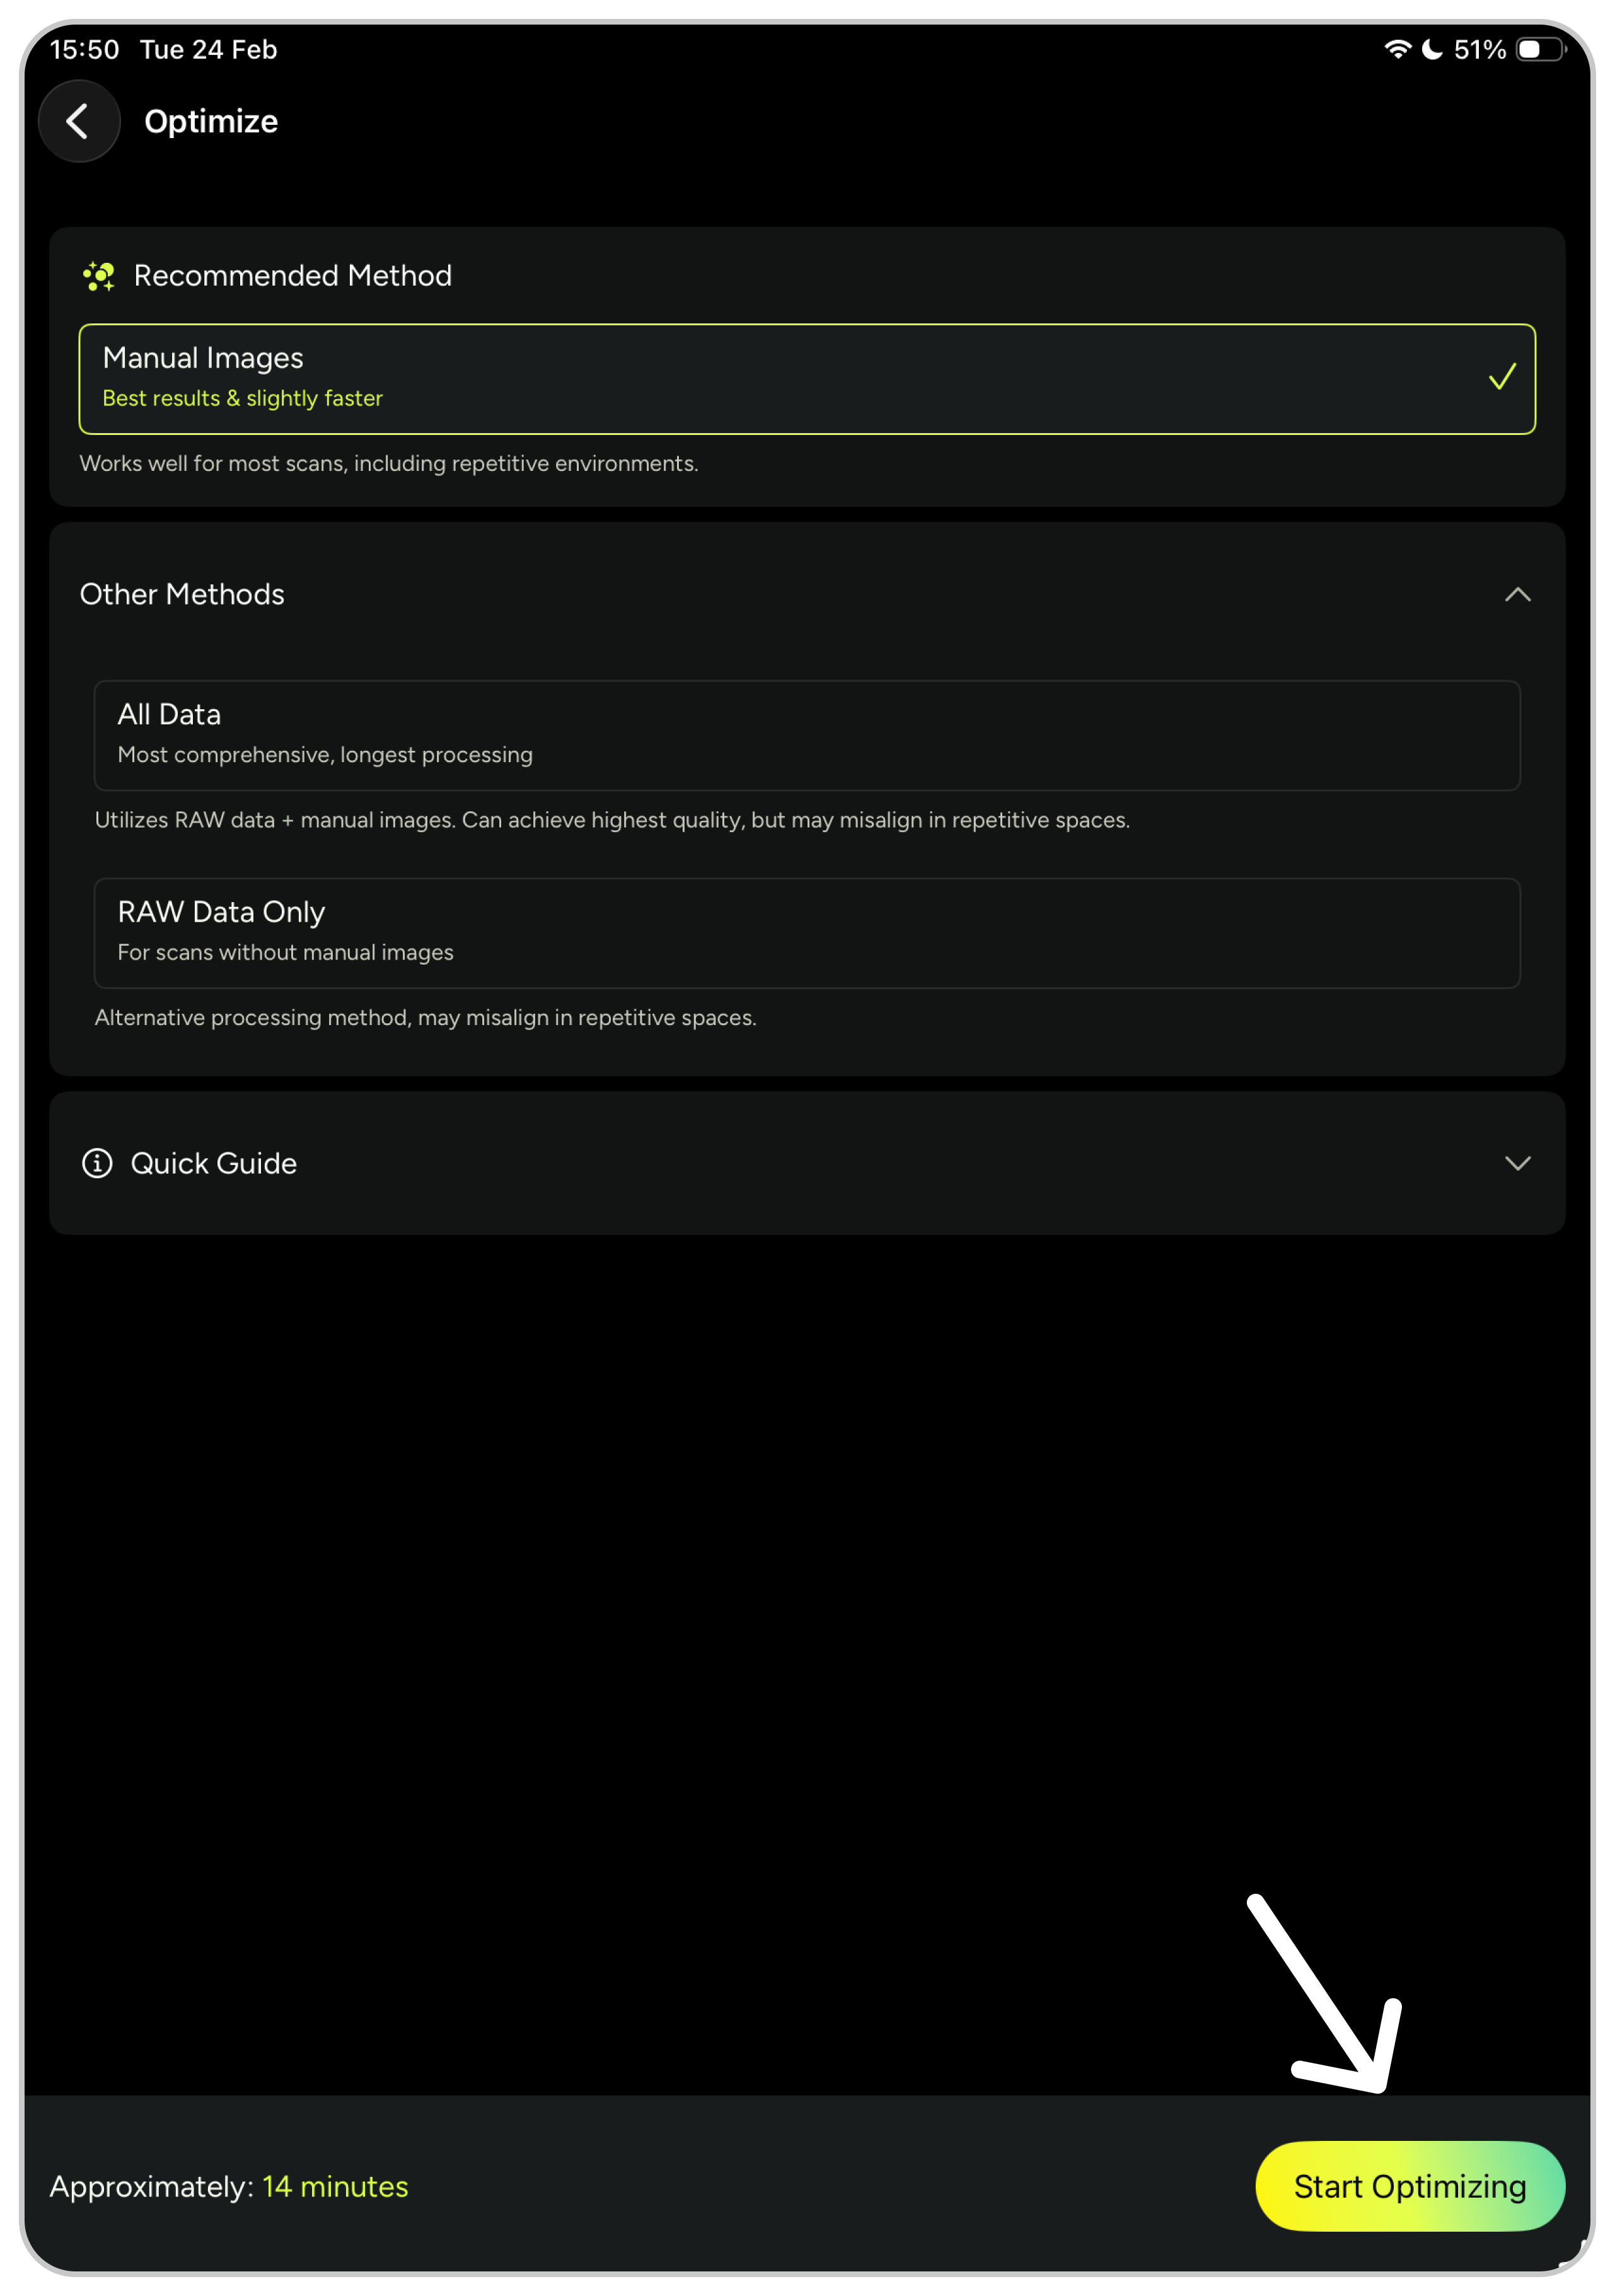
Choose between various methods, depending on your available assets (images, RAW data). At the moment we recommend to start with method “Manual Images Only”. It’s fastest and works for most scans, including repetitive environments. This is where your photo checkpoints come in handy ;).
Other methods may achieve higher quality in some cases, but can struggle with repetitive features.
You can always re-optimize later. Your original scan data stays safe.
More optimization methods will follow in the future, as we continue to improve MAVO 3D and its point cloud cleaning and aligning.
What are repetitive patterns?
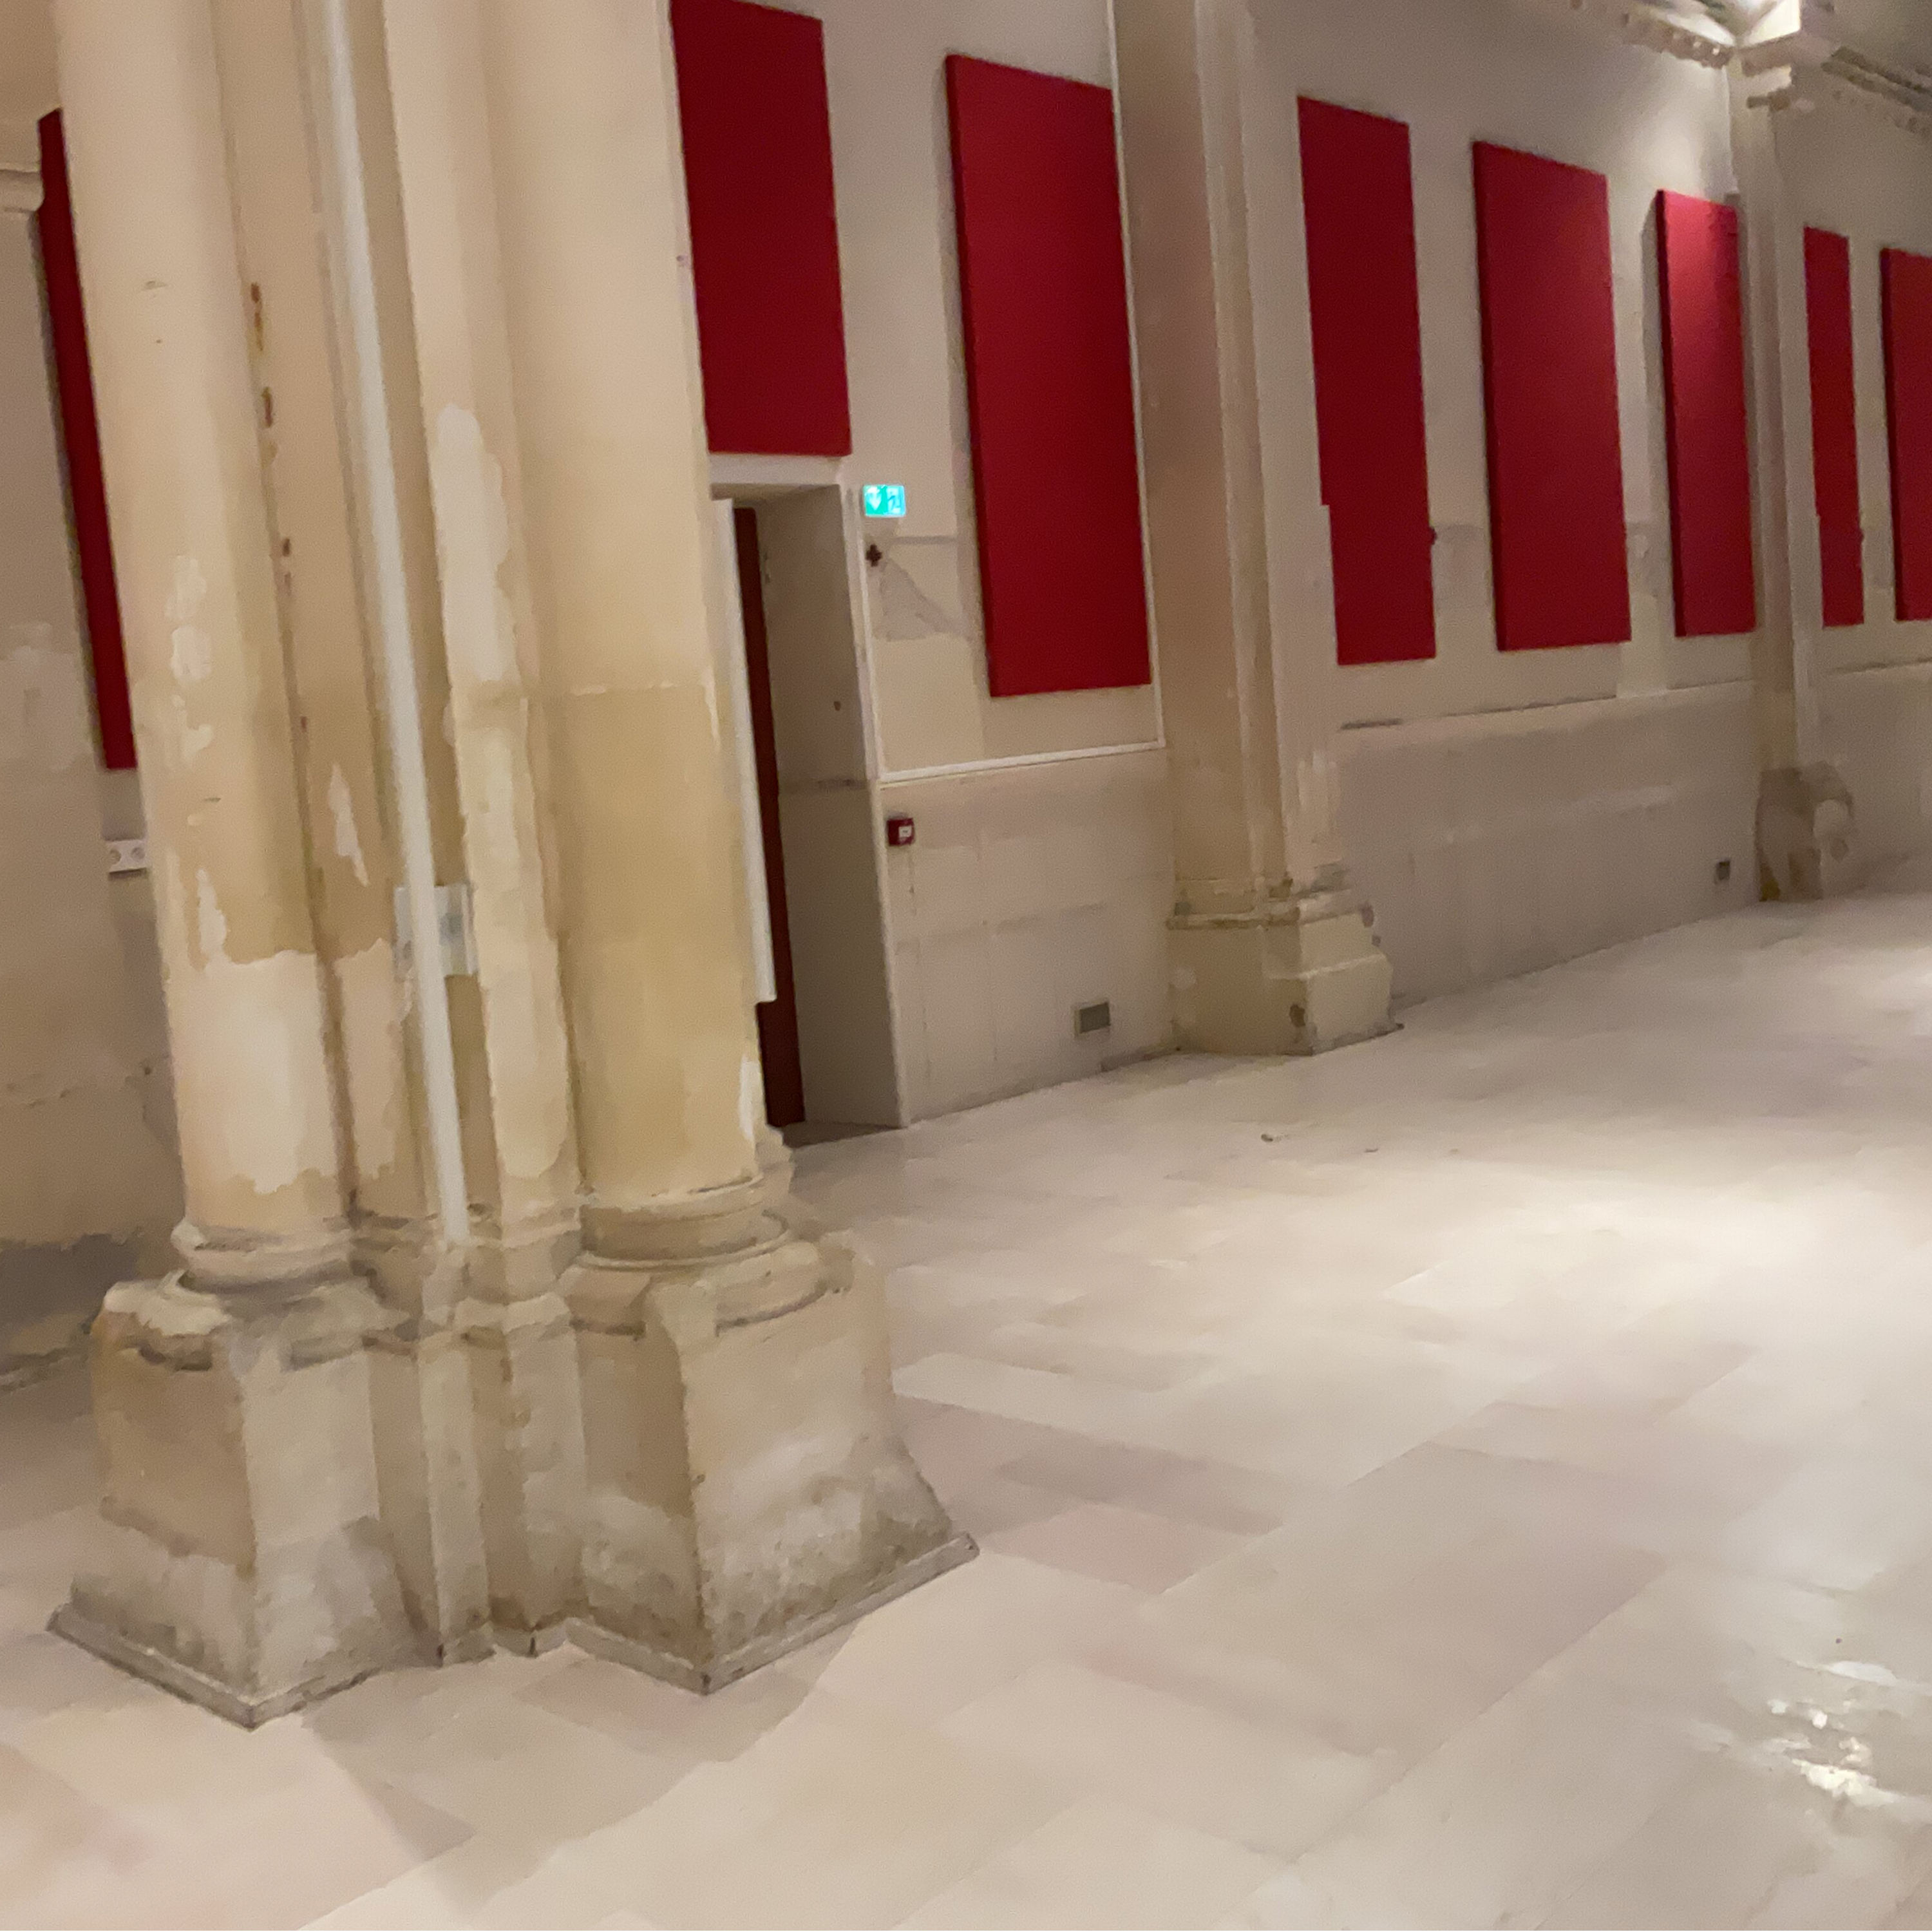
Structural
Identical structural elements repeated throughout a space, like matching pillars, windows, or similar rooms often found in offices and churches.
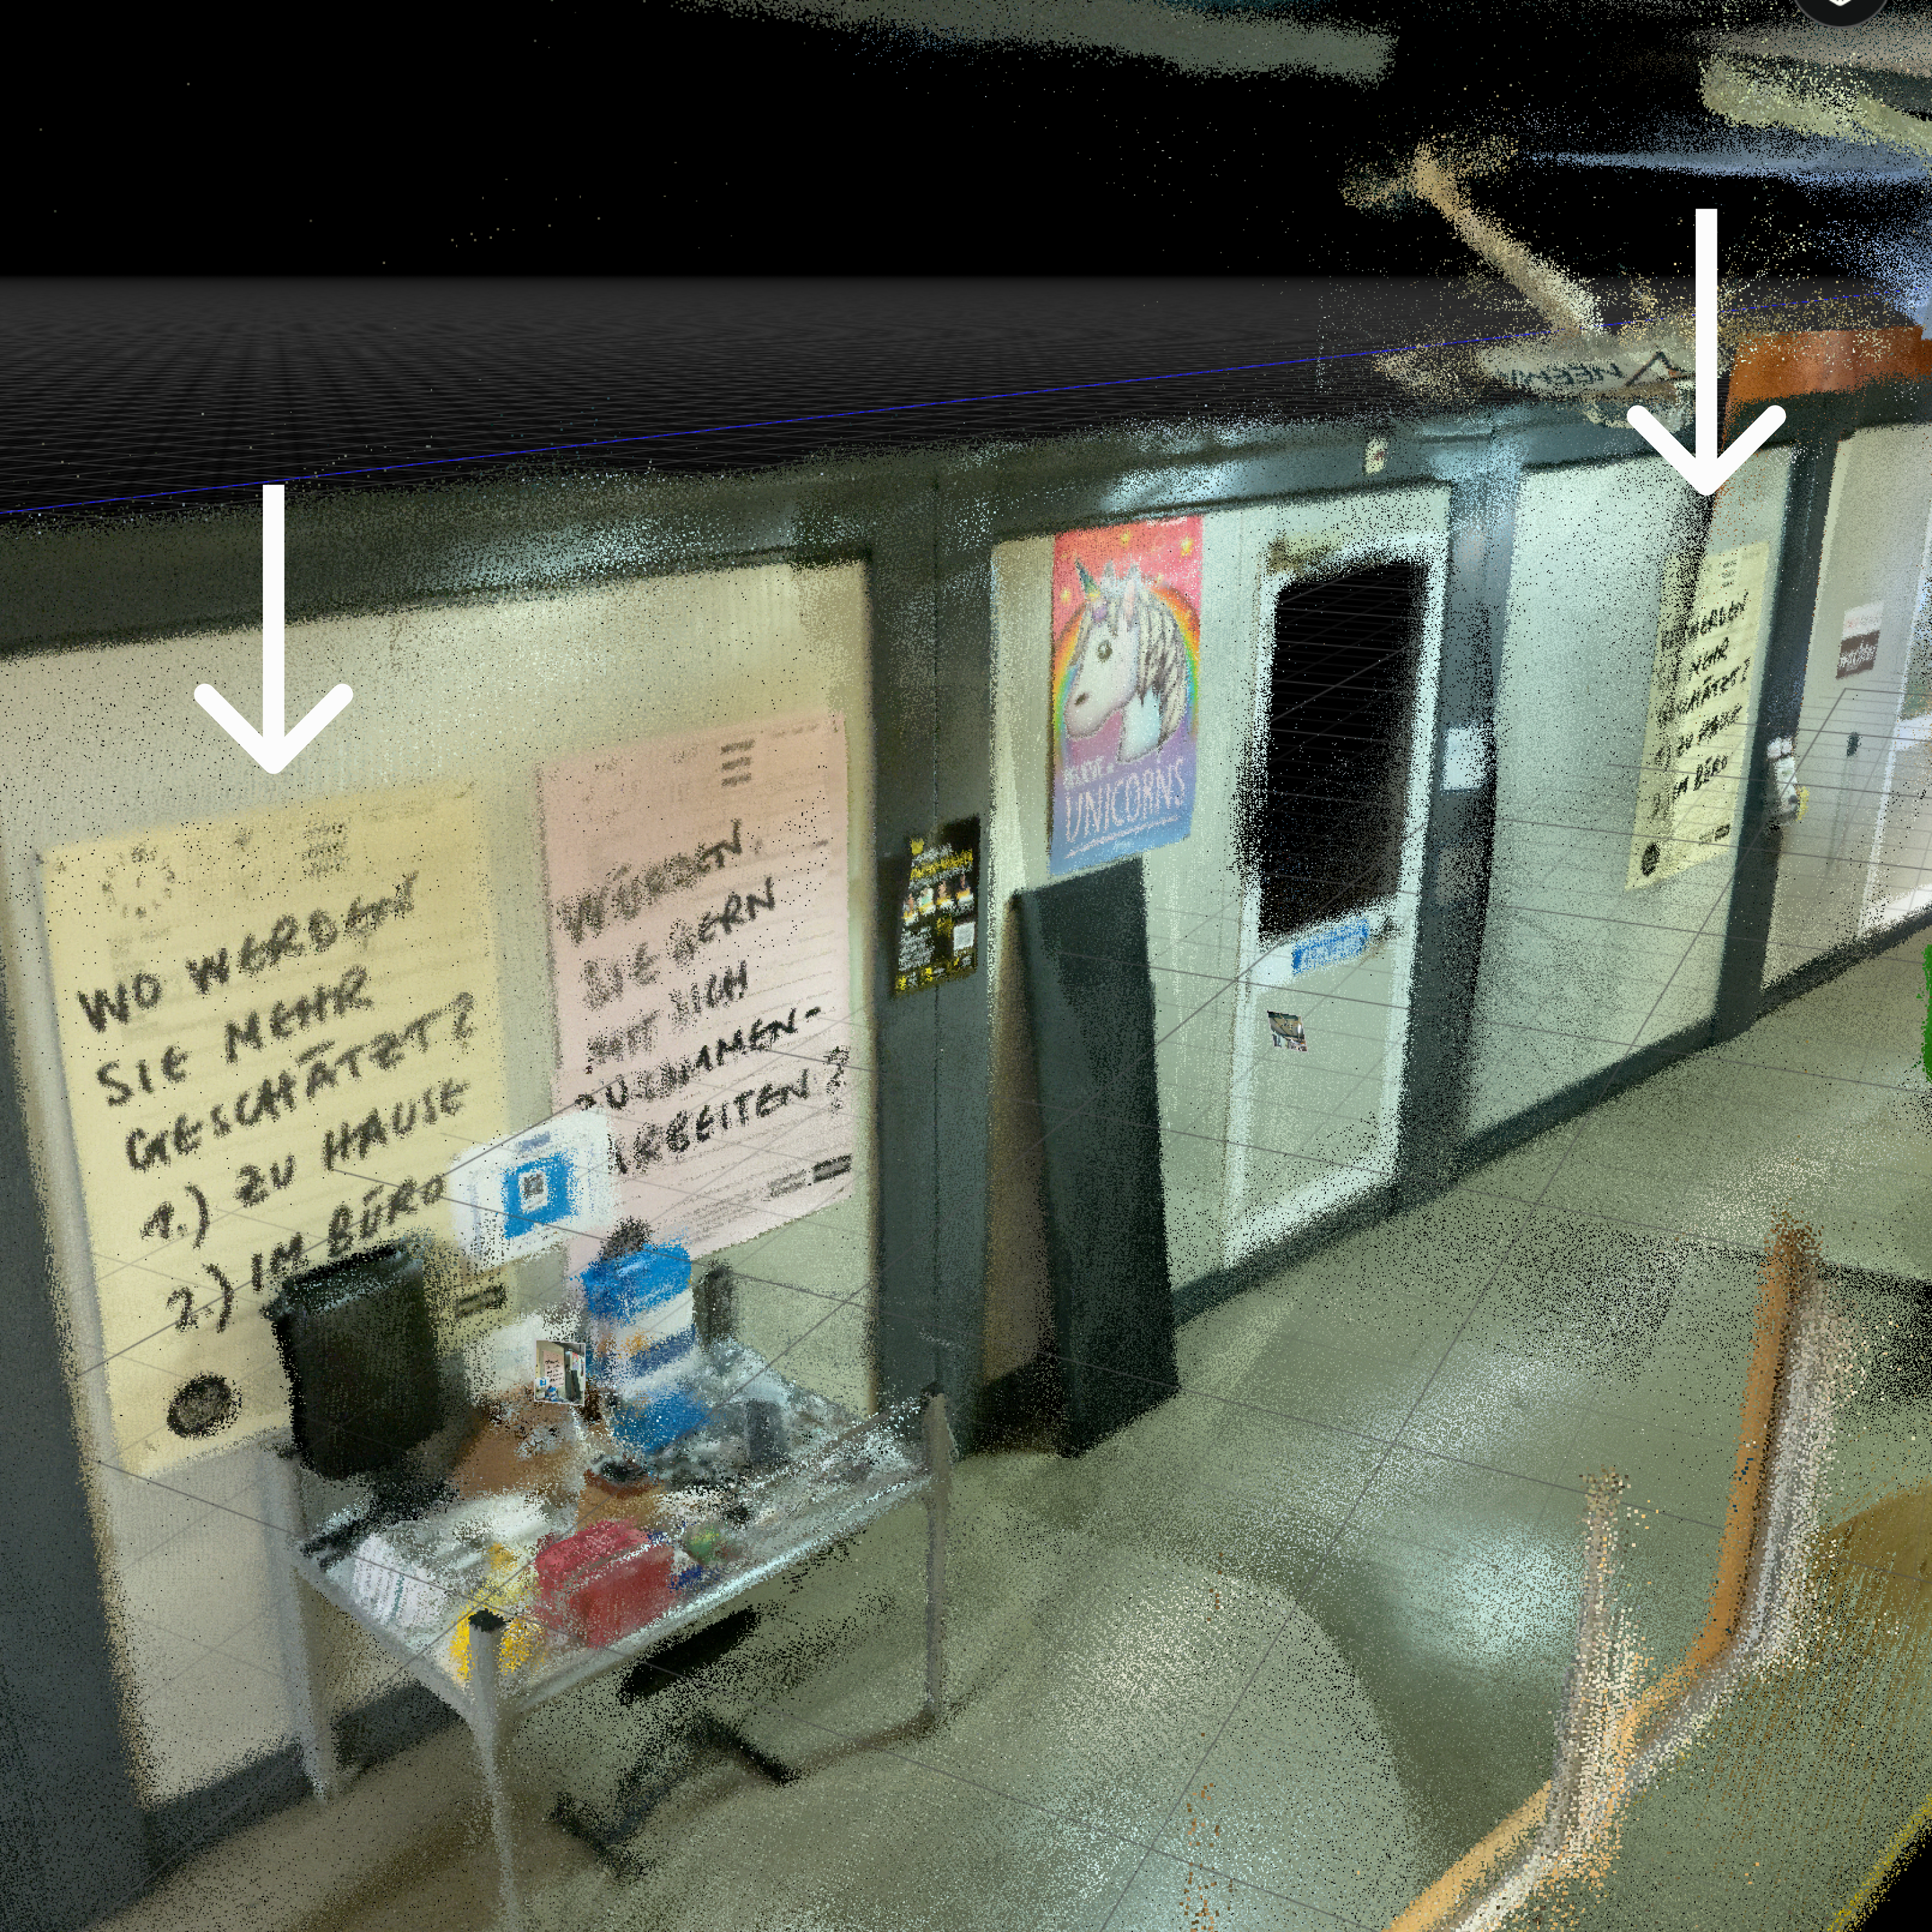
Decor
Identical decorative elements, like the same poster appearing on multiple walls in a building.
Best practice: capture manual images strategically. Step back to include surrounding elements in your shots. More context helps alignment and improves scan quality.
FAQ
How many reference objects do I need?
We recommend choosing a minimum of 2 reference objects per scan. One at the start and one as a backup. For example, if you are capturing 2 rooms, each room could have a reference object.
You can choose multiple reference objects during scanning. If you do so, remember when passing one, to capture the object from the same position again.
This naturally leads to situations where you capture your reference object more than 2 times.
What if I forget my checkpoint position?
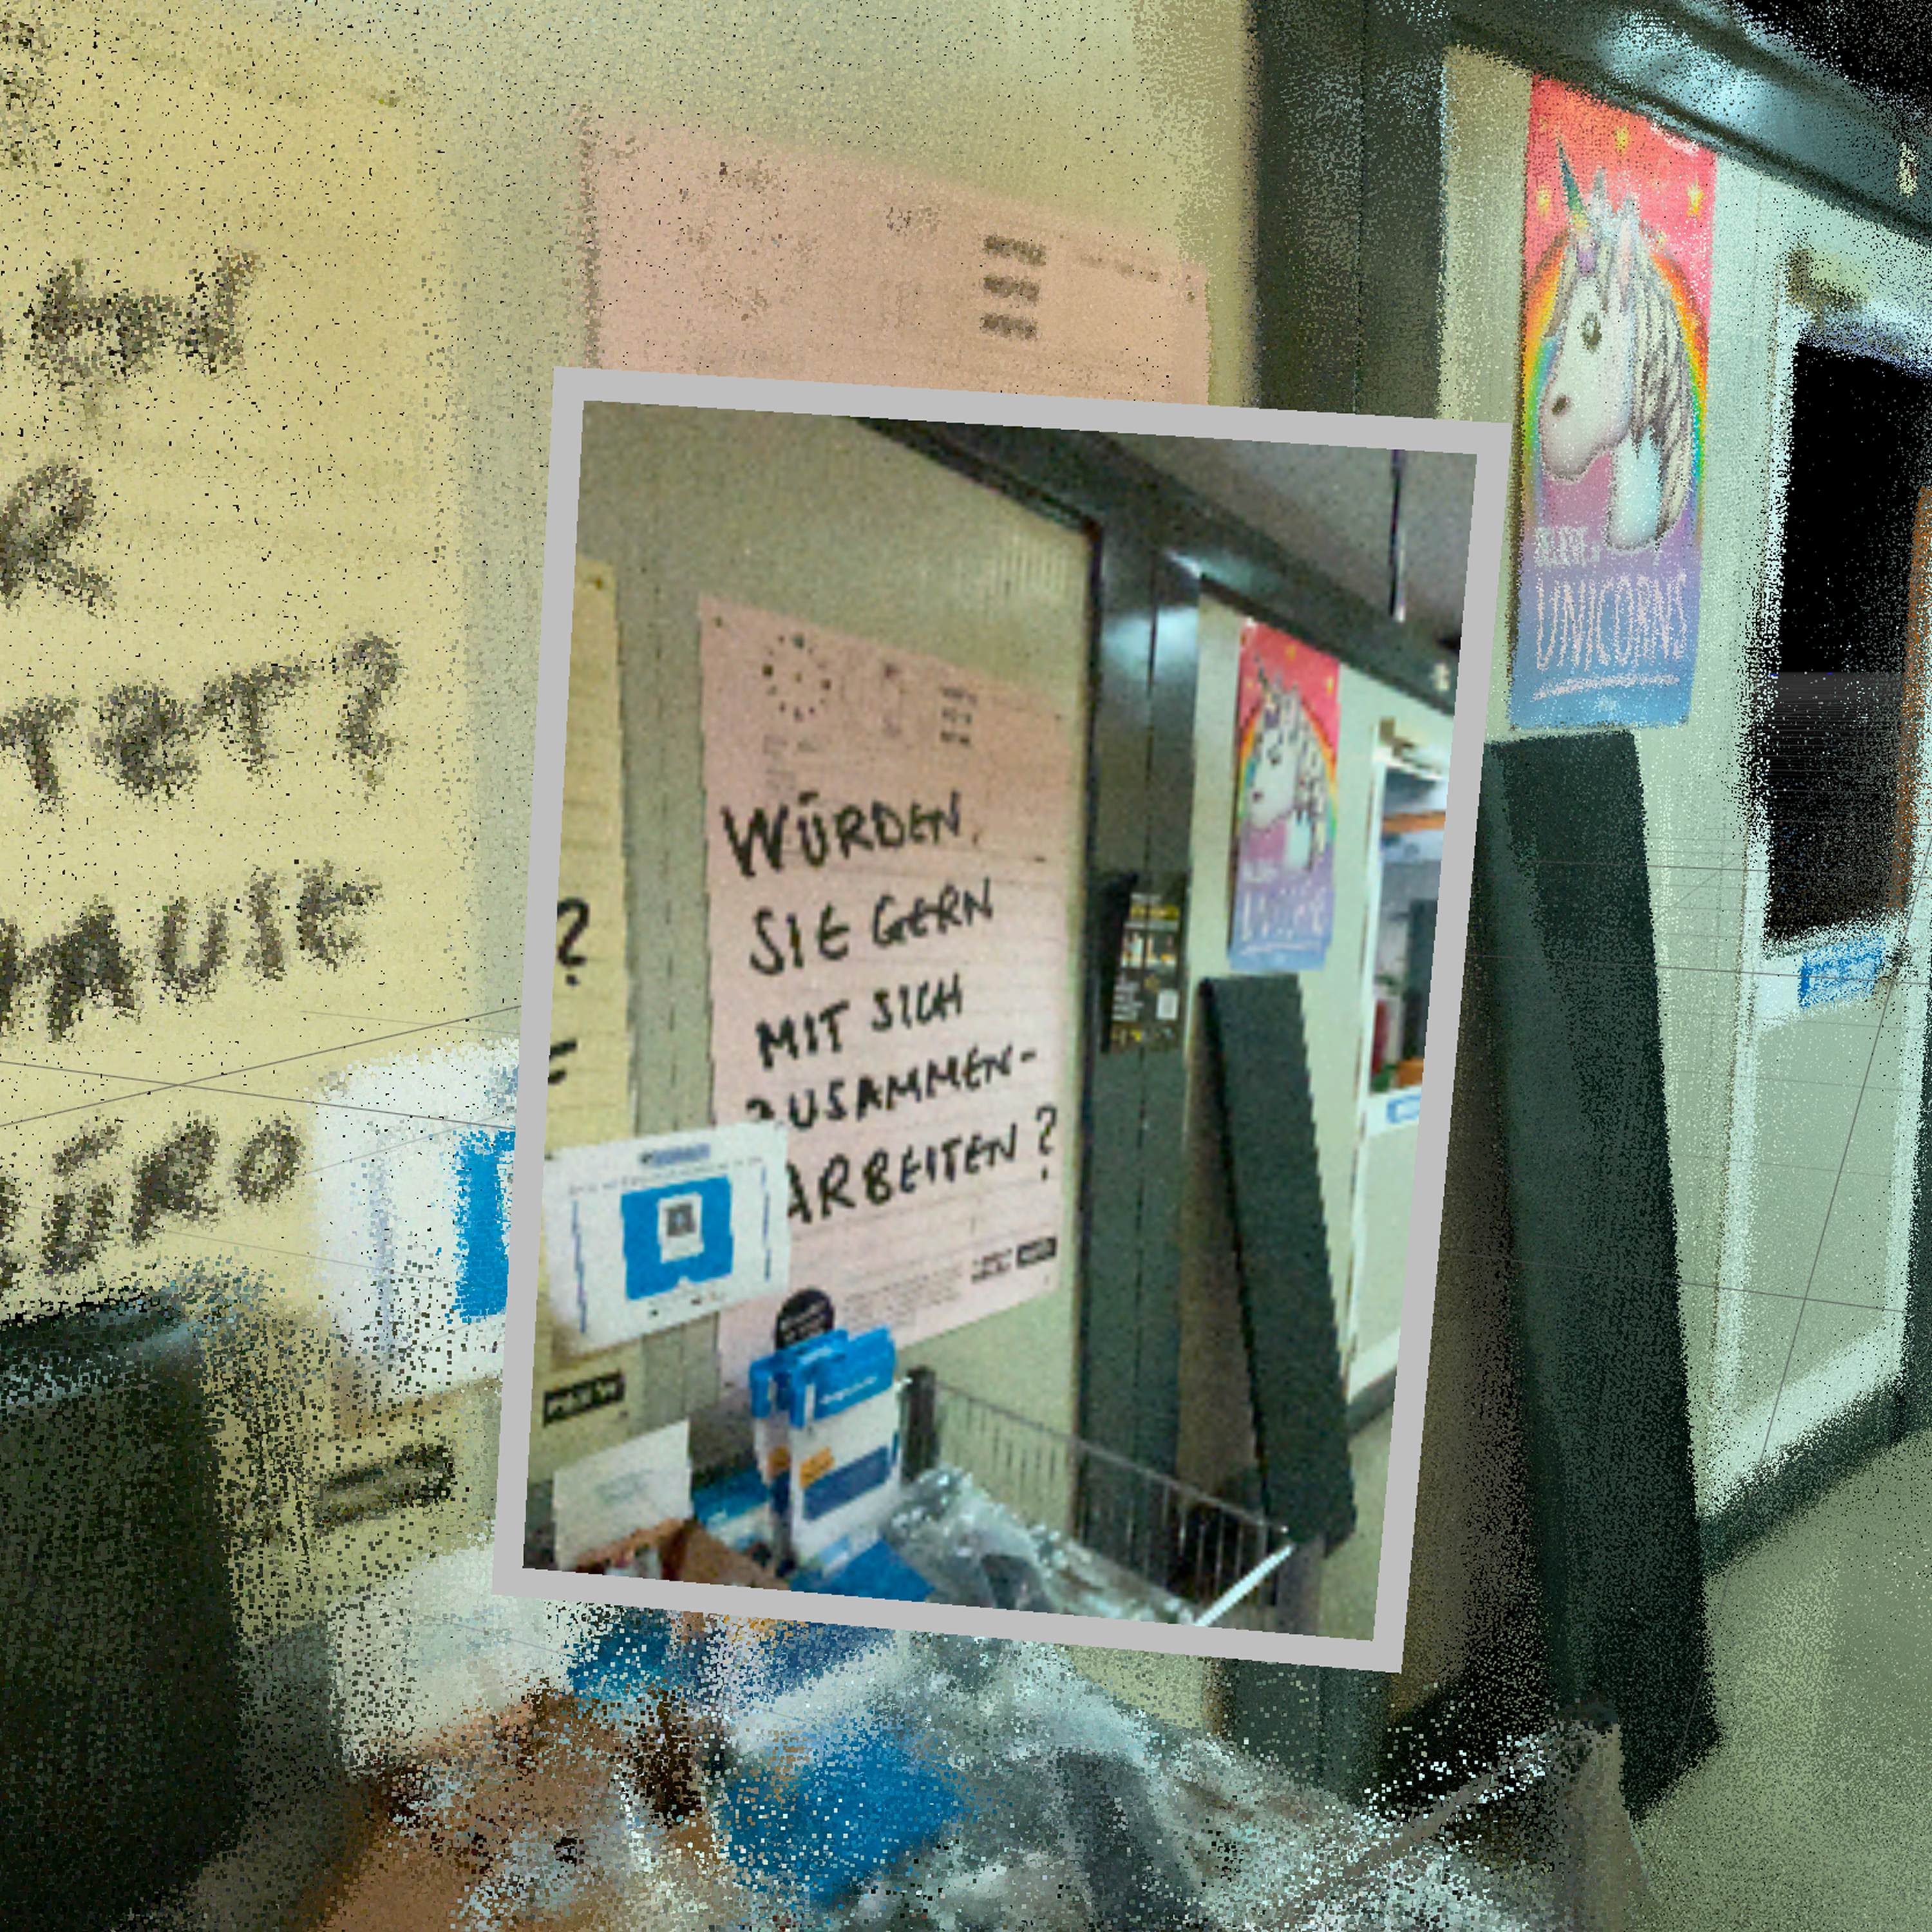
How do photo checkpoints actually work?
MAVO 3D has an intelligent image matching algorithm, where it can analyze and identify matching images. If a matching pair is detected, it helps to correct point positions in the point cloud that have been captured during the rest of the scanning process.
In order to do this correction, MAVO 3D needs to have images that are as identical as possible, this means, the same object captured from the same position in the room.
How do I scan multiple floors?
- Start at ground level near your reference object
- Scan the entire ground floor
- Go upstairs and scan the second floor (turn on the lights in the stairwell)
- Return downstairs
- End at your reference object
What do I do if my scan drifts?
Sometimes you’ll notice alignment issues while scanning, such as walls not quite parallel. This is normal, as you need to walk around objects or you have to rotate to capture all relevant structural details. Drifts occur, because your phone has difficulties catching up with your movements. The darker the environment, the more drifts are likely to happen.
When these drifts happen:
- Keep scanning
- Move more slowly
- Keep rotations minimal
- Complete your planned route
- Finish with a photo of your reference object
- Save your scan and tap on the “Optimize” button when viewing your point cloud
This complete circuit helps the app understand how all spaces connect.
Can I try this optimization before I buy a license?
Yes, the free license includes 5 optimizations, so you can test the feature with no obligations and no costs.
If you want unlimited optimizations, you can also start a free 7-day trial of the Professional version right now.